Adding additional users to your MailerLite account allows you to collaborate on your email marketing with team members and colleagues.
Note: Adding more than one account user is a feature that is only available with Growing Business and Advanced plans. See our pricing for more details, or upgrade your plan to add more than one account user.
What types of users can be added to the account
There are 5 kinds of users that can be added to your MailerLite account:
Administrator - Administrators have full access to the account. They can perform all actions including exporting subscribers, accessing billing, and creating/deleting other users.
Manager - Managers have full access except they cannot export subscribers, access billing, or create/delete users.
Viewer - Viewers can only view reports.
Accountant - Accountants can only access billing.
Custom user - Create a custom user by selecting custom permissions for that user.
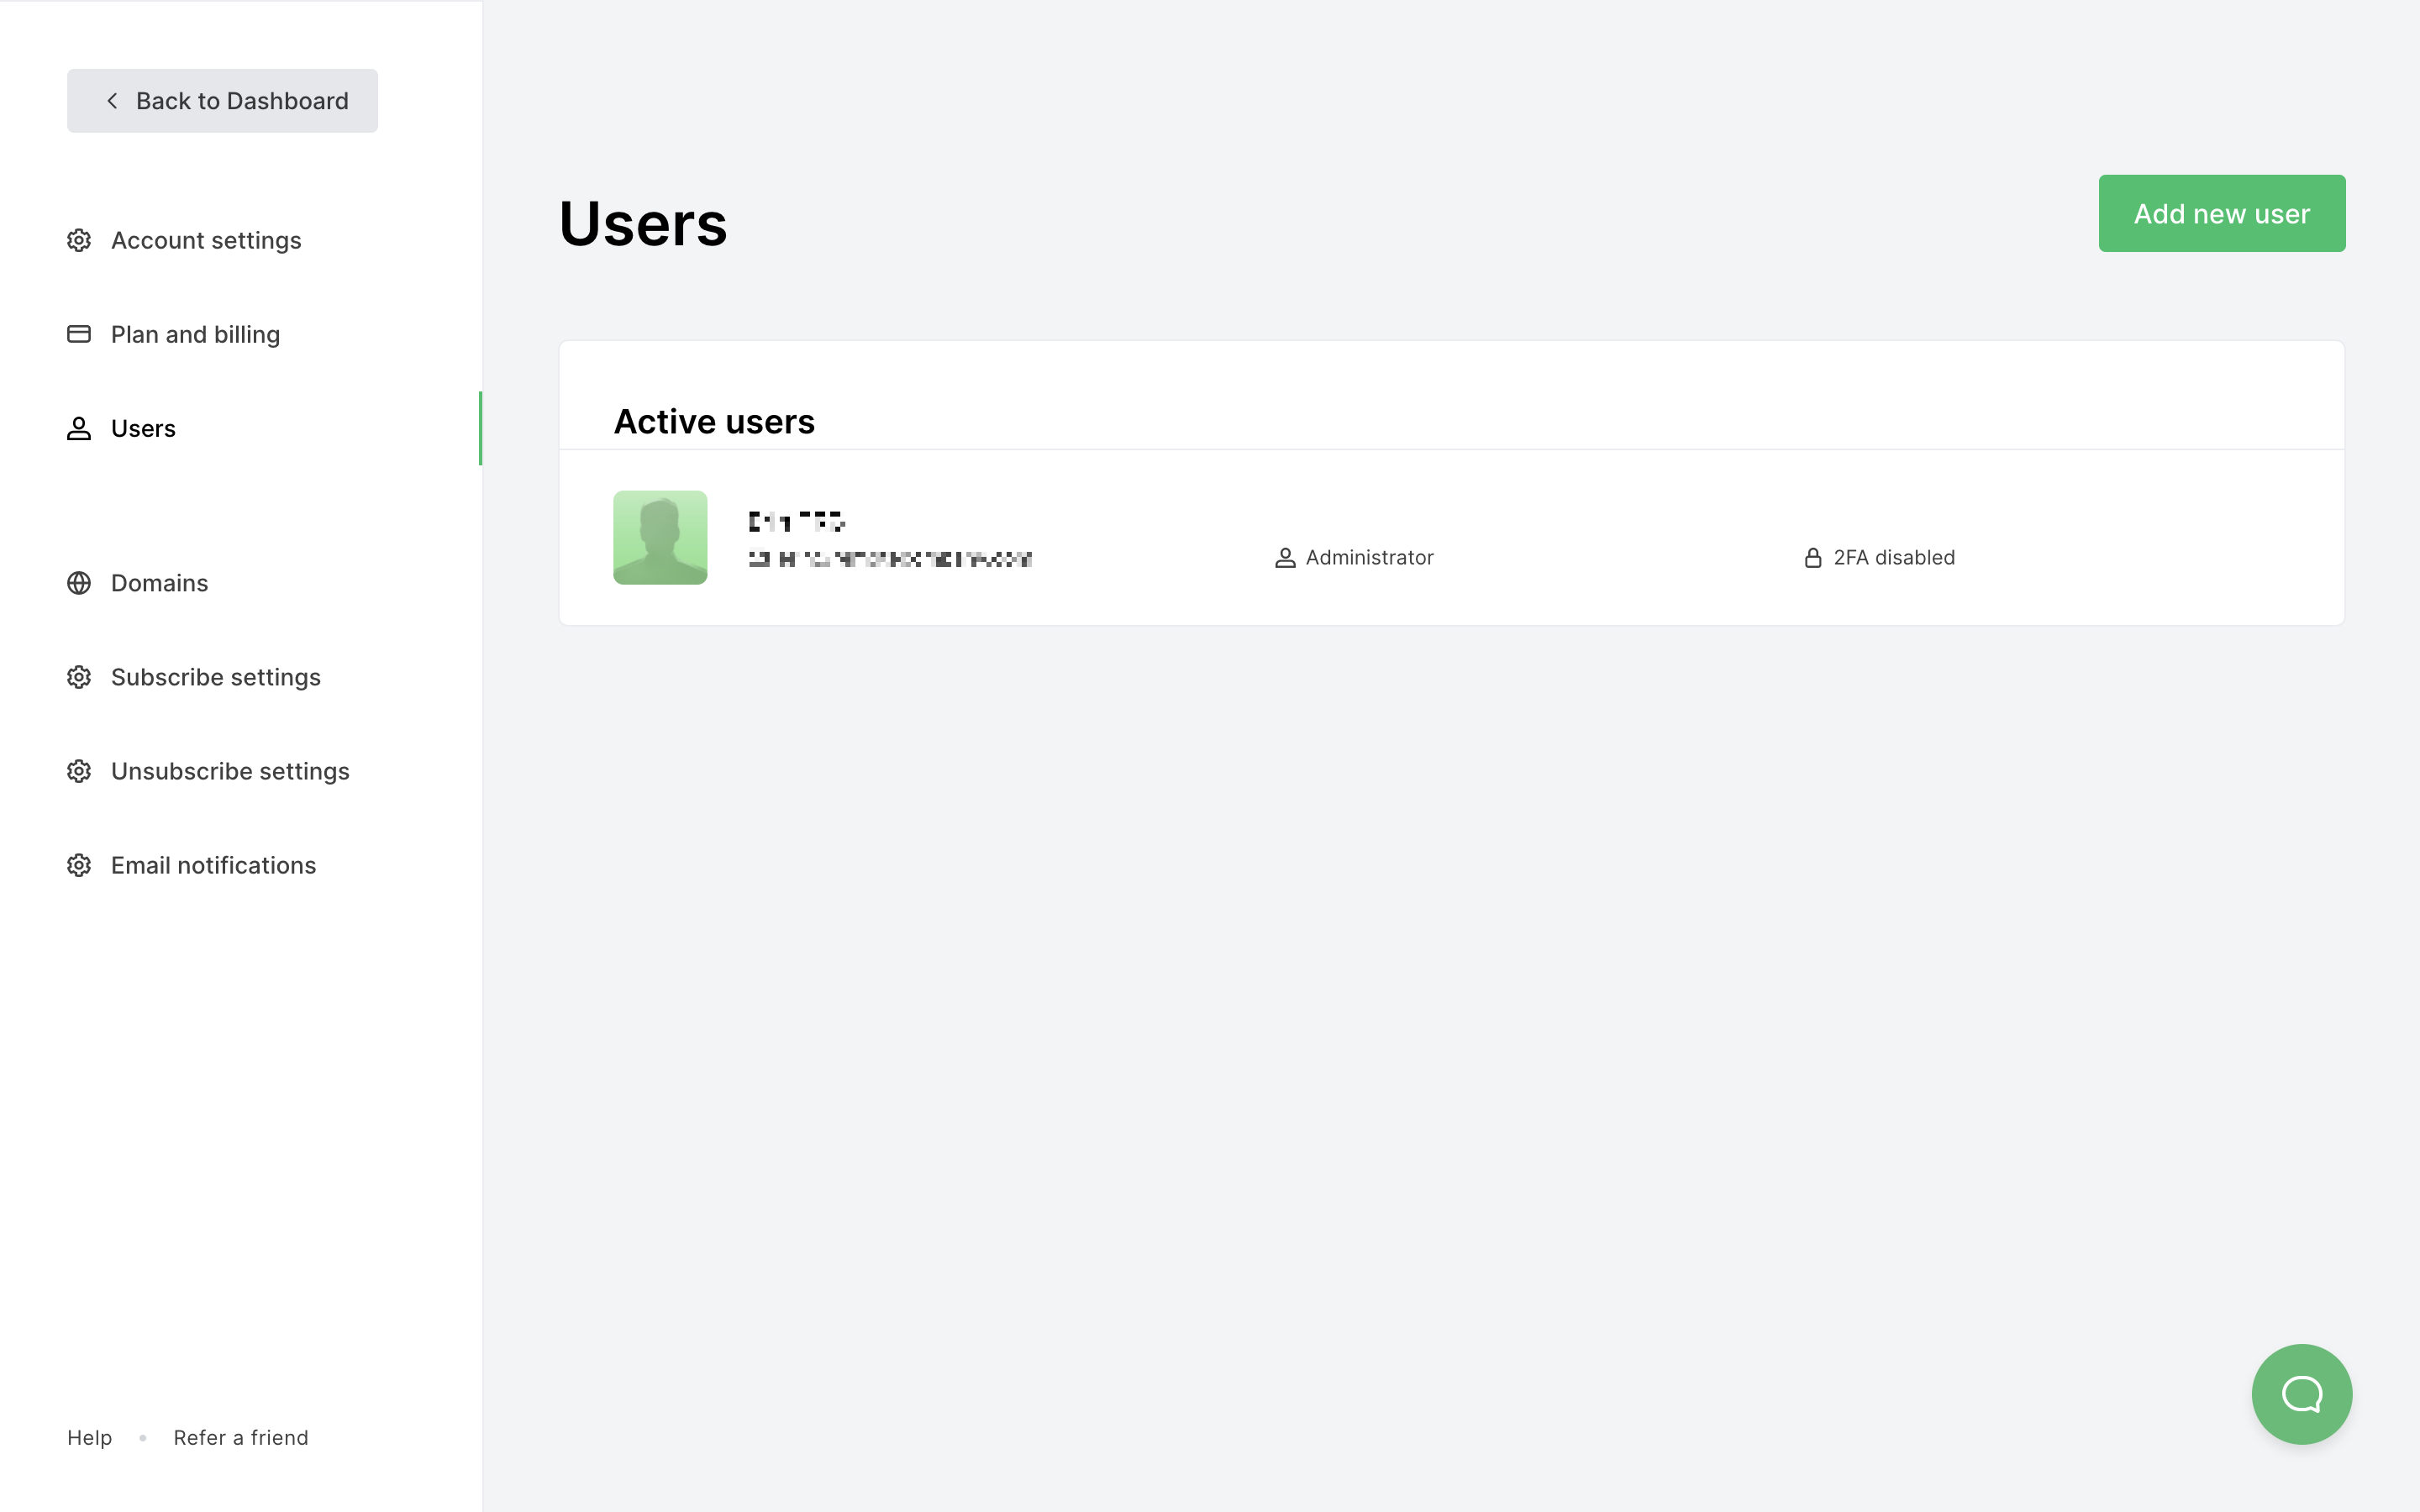
How to add another user to the account
To add a new user to your account:
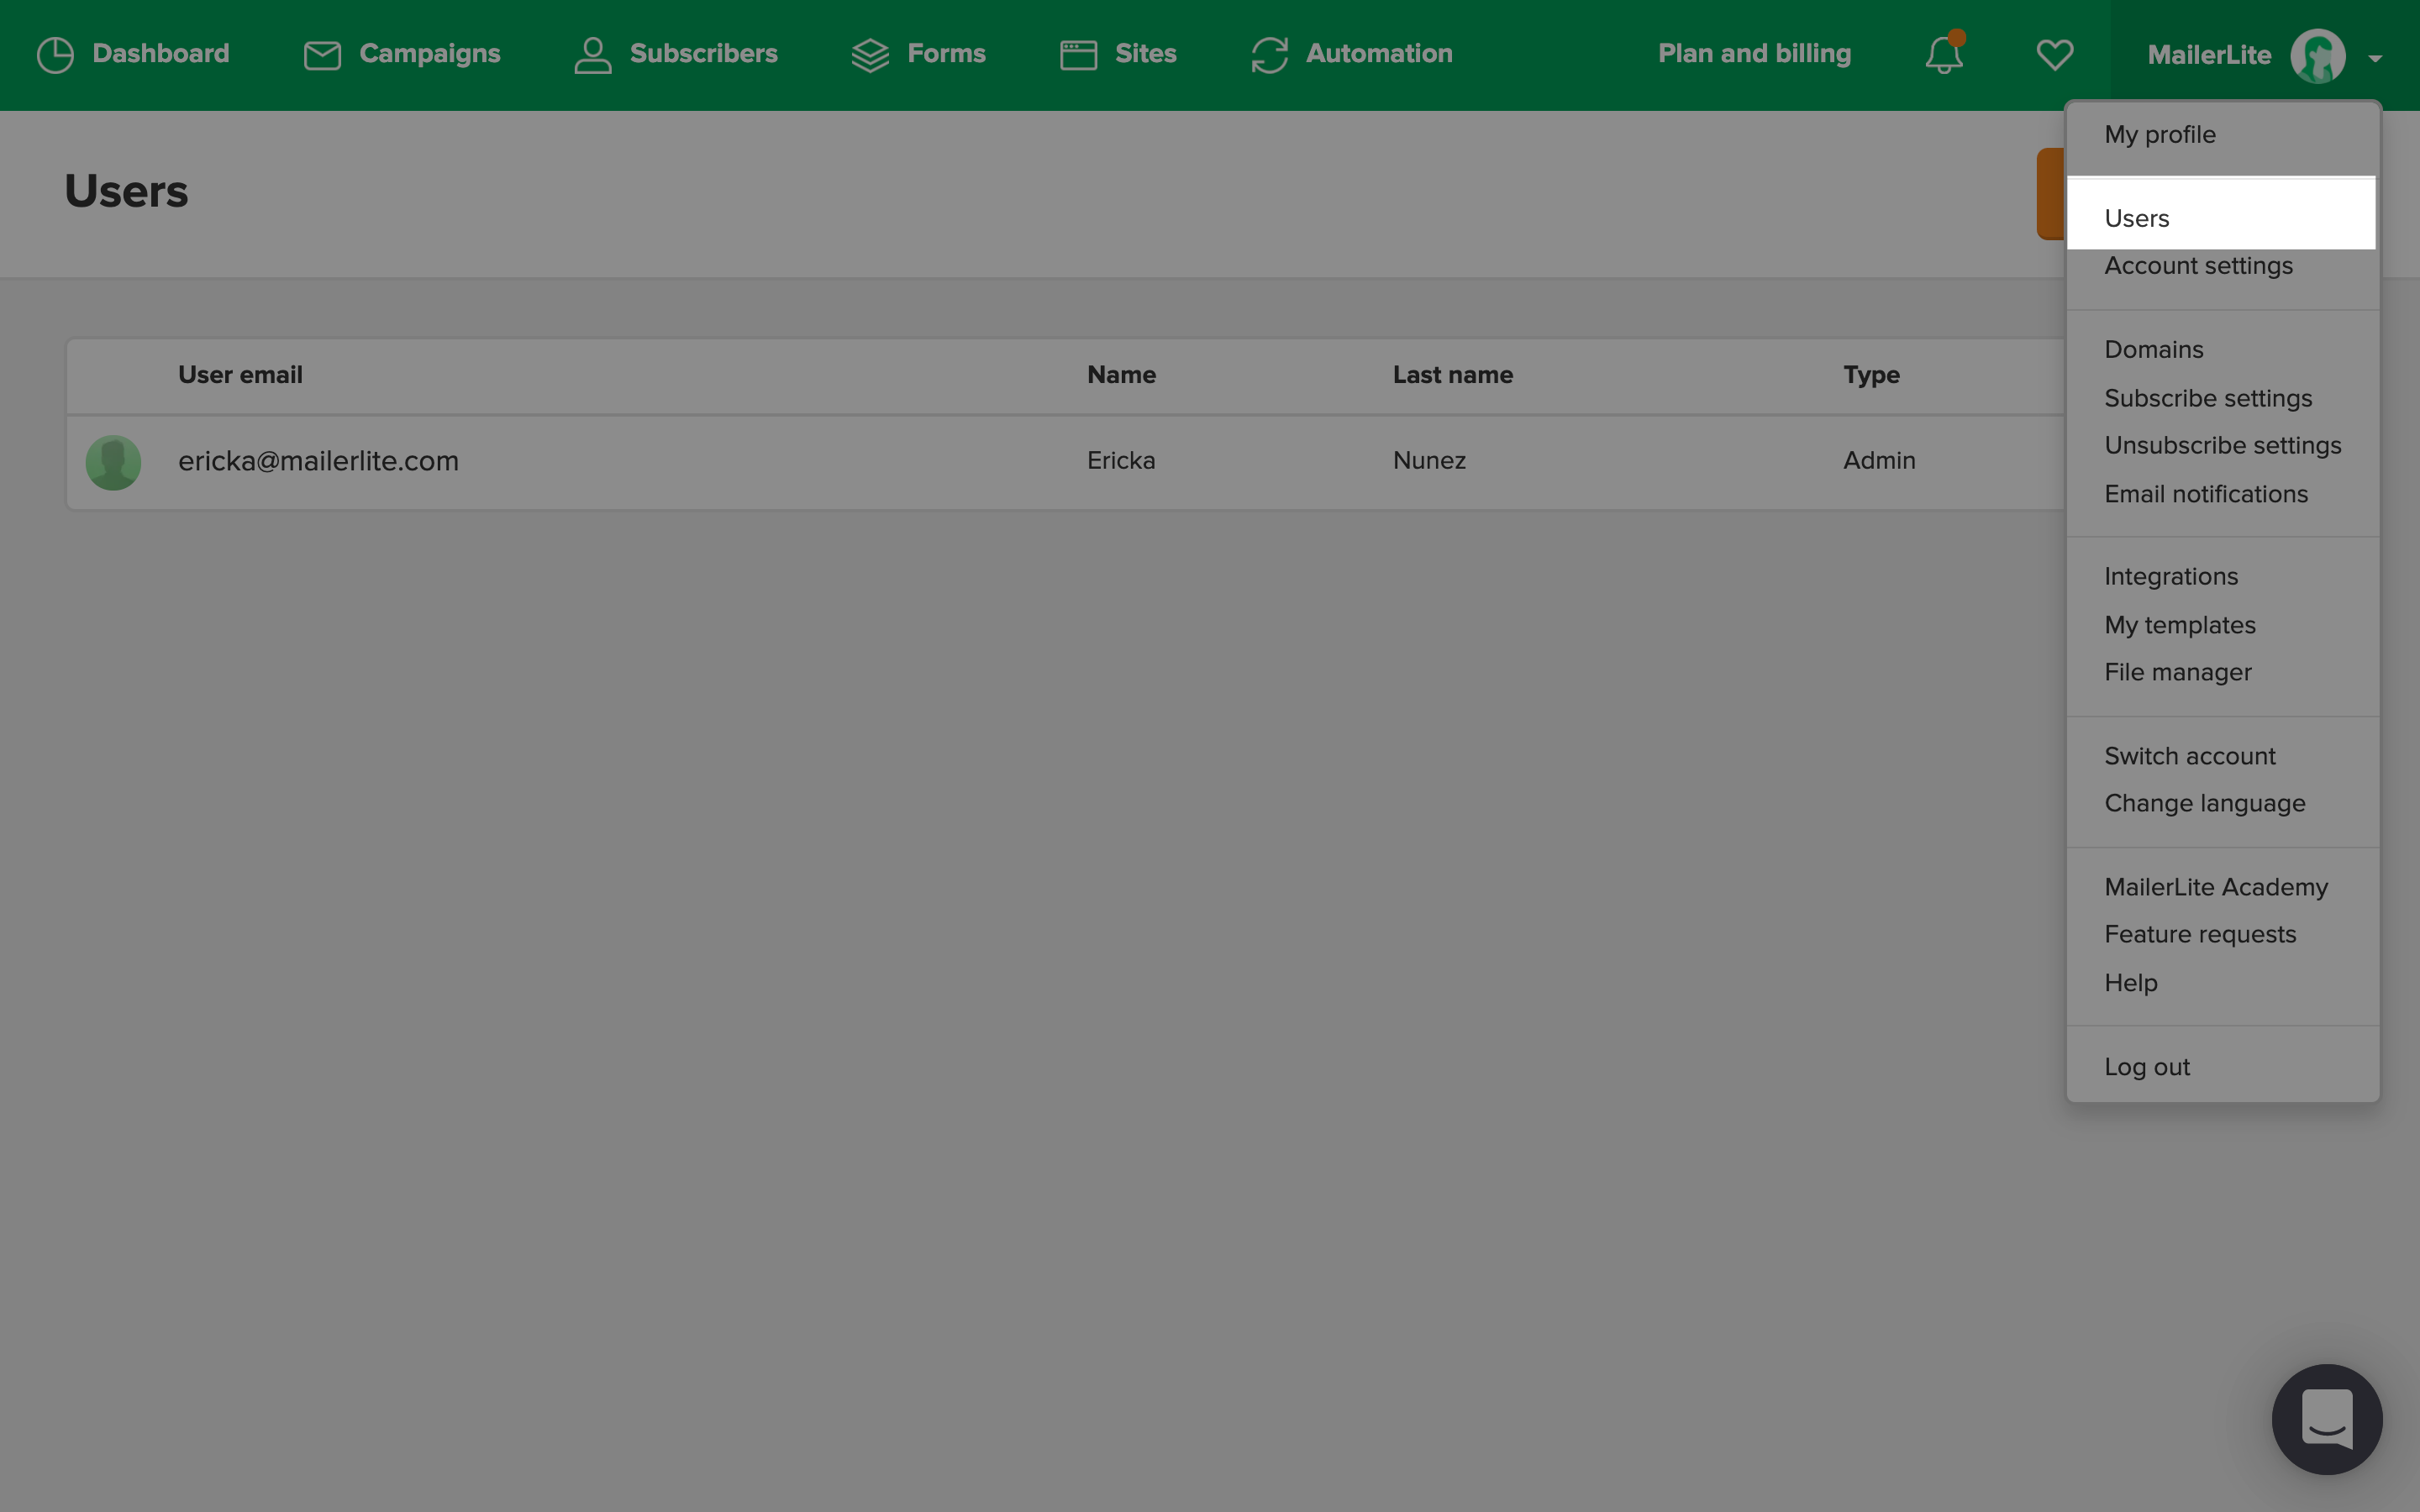
In the sidebar, click Settings followed by Users.
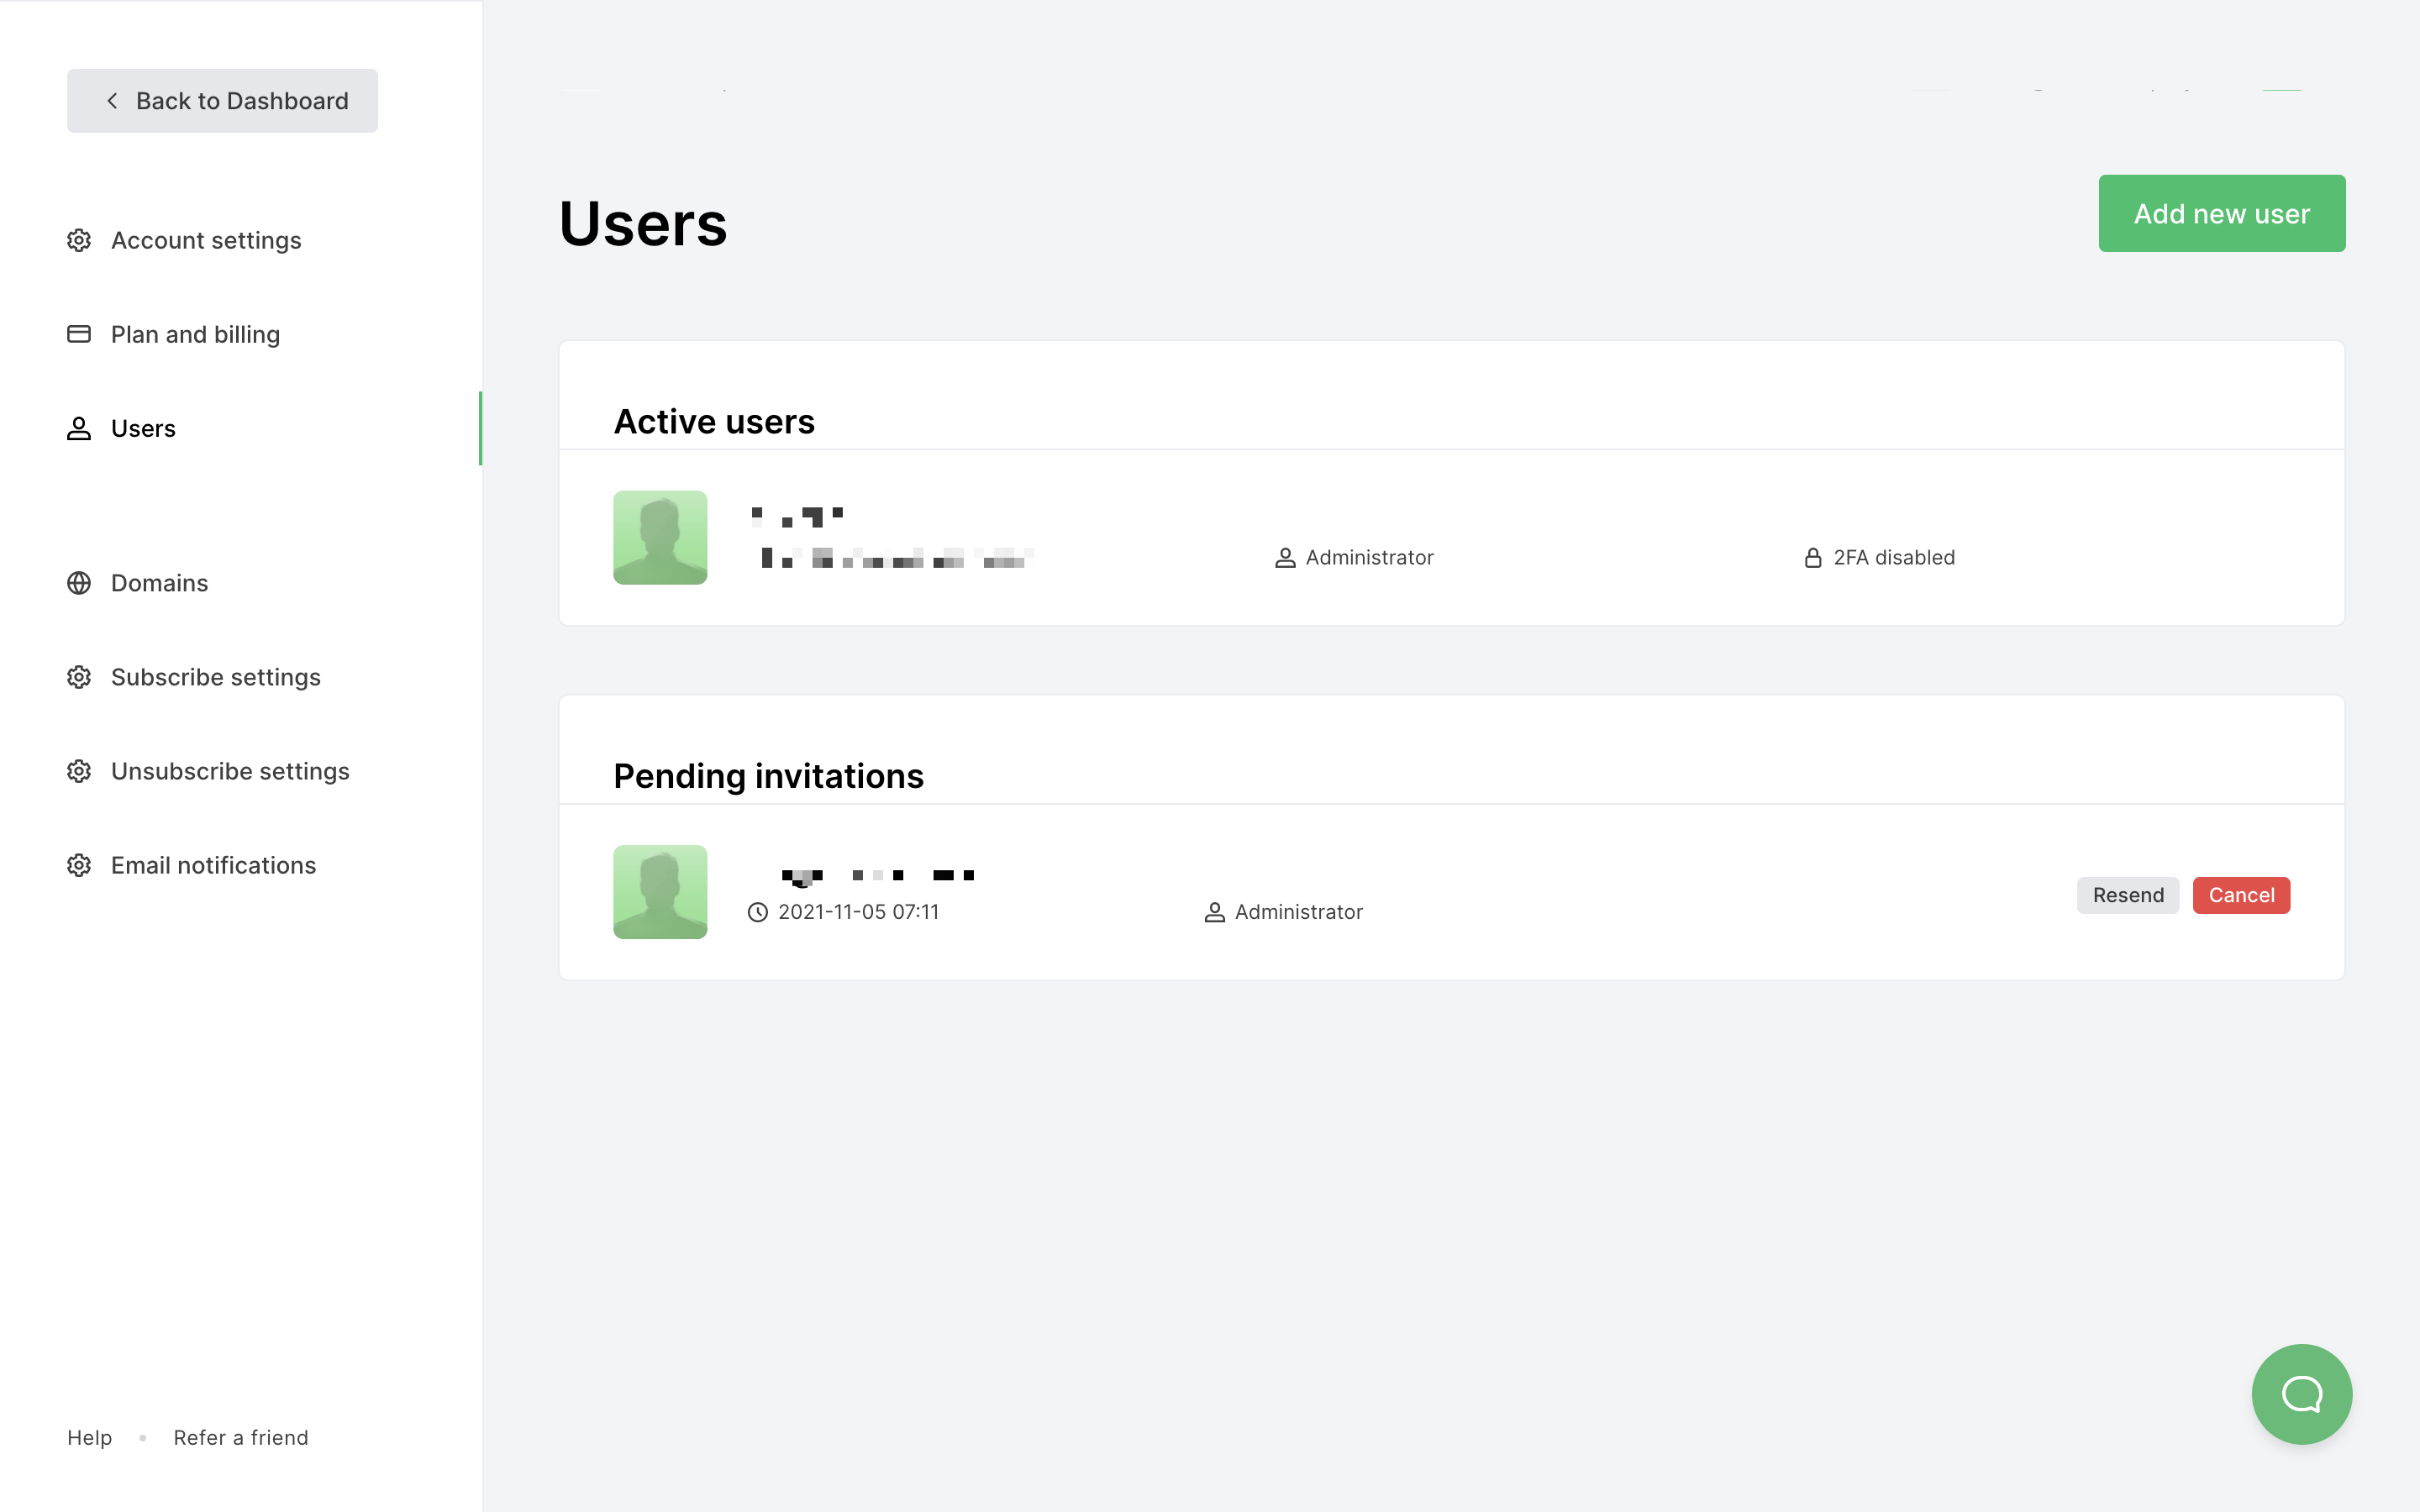
Click Add new user.
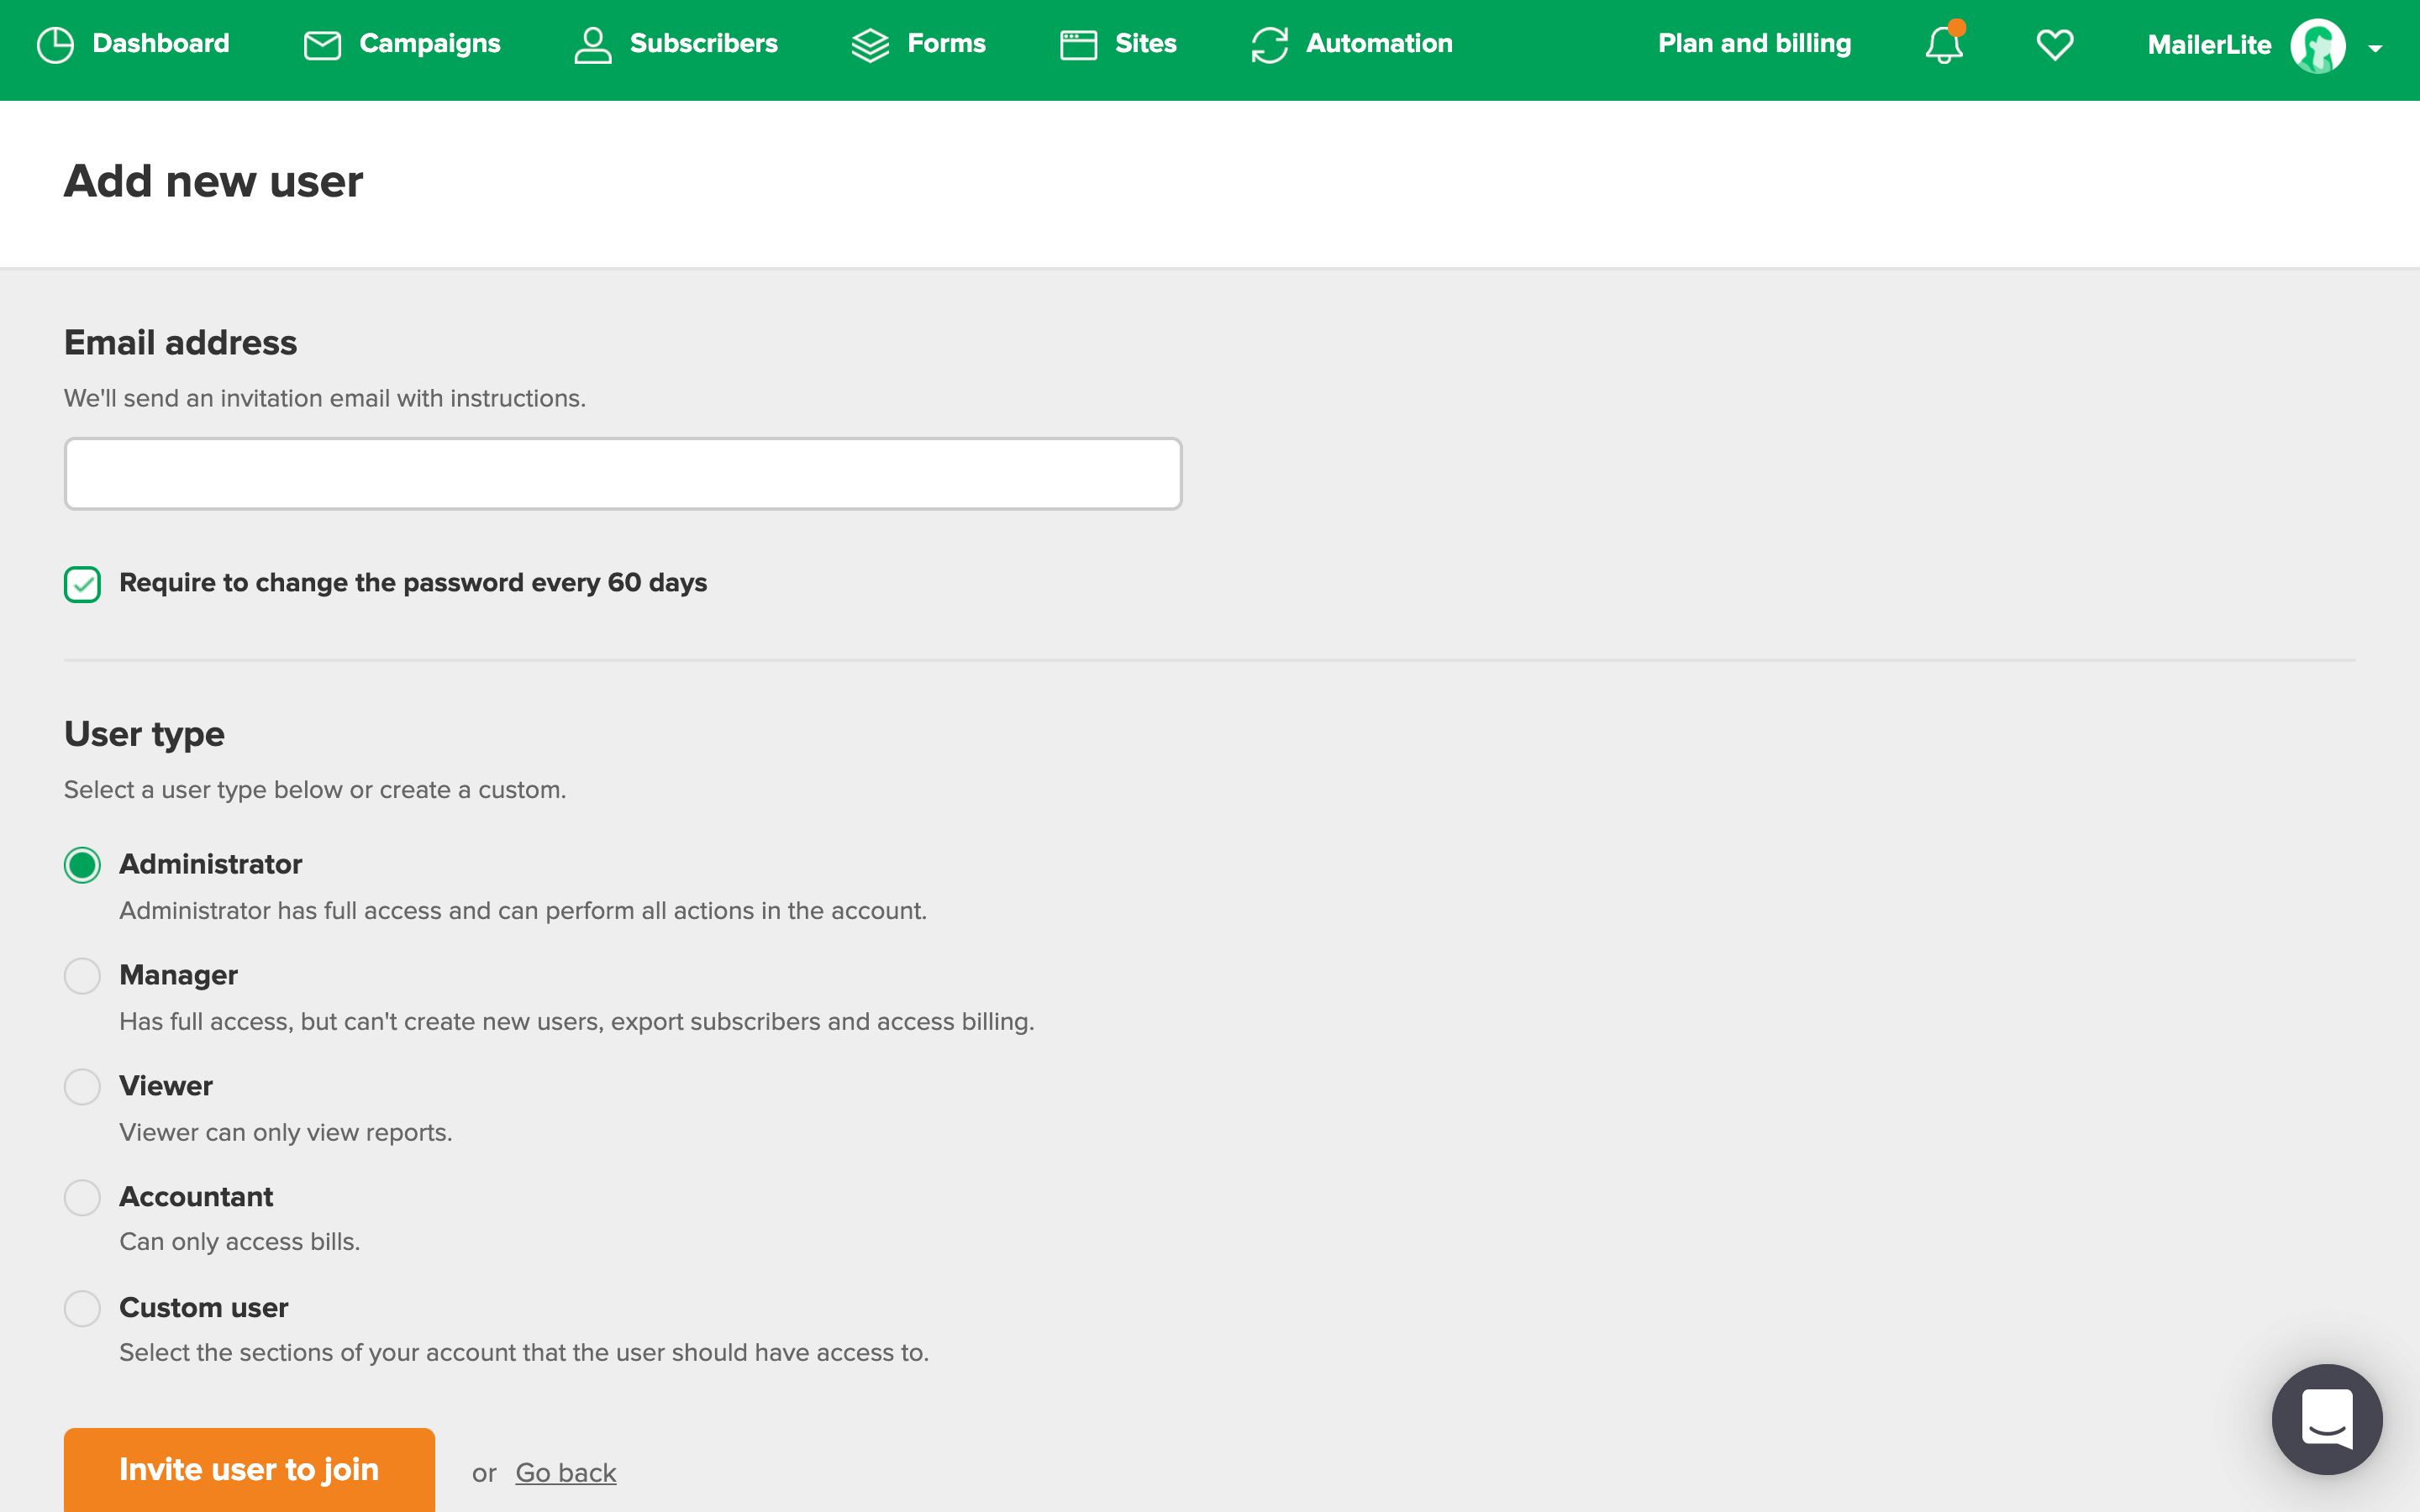
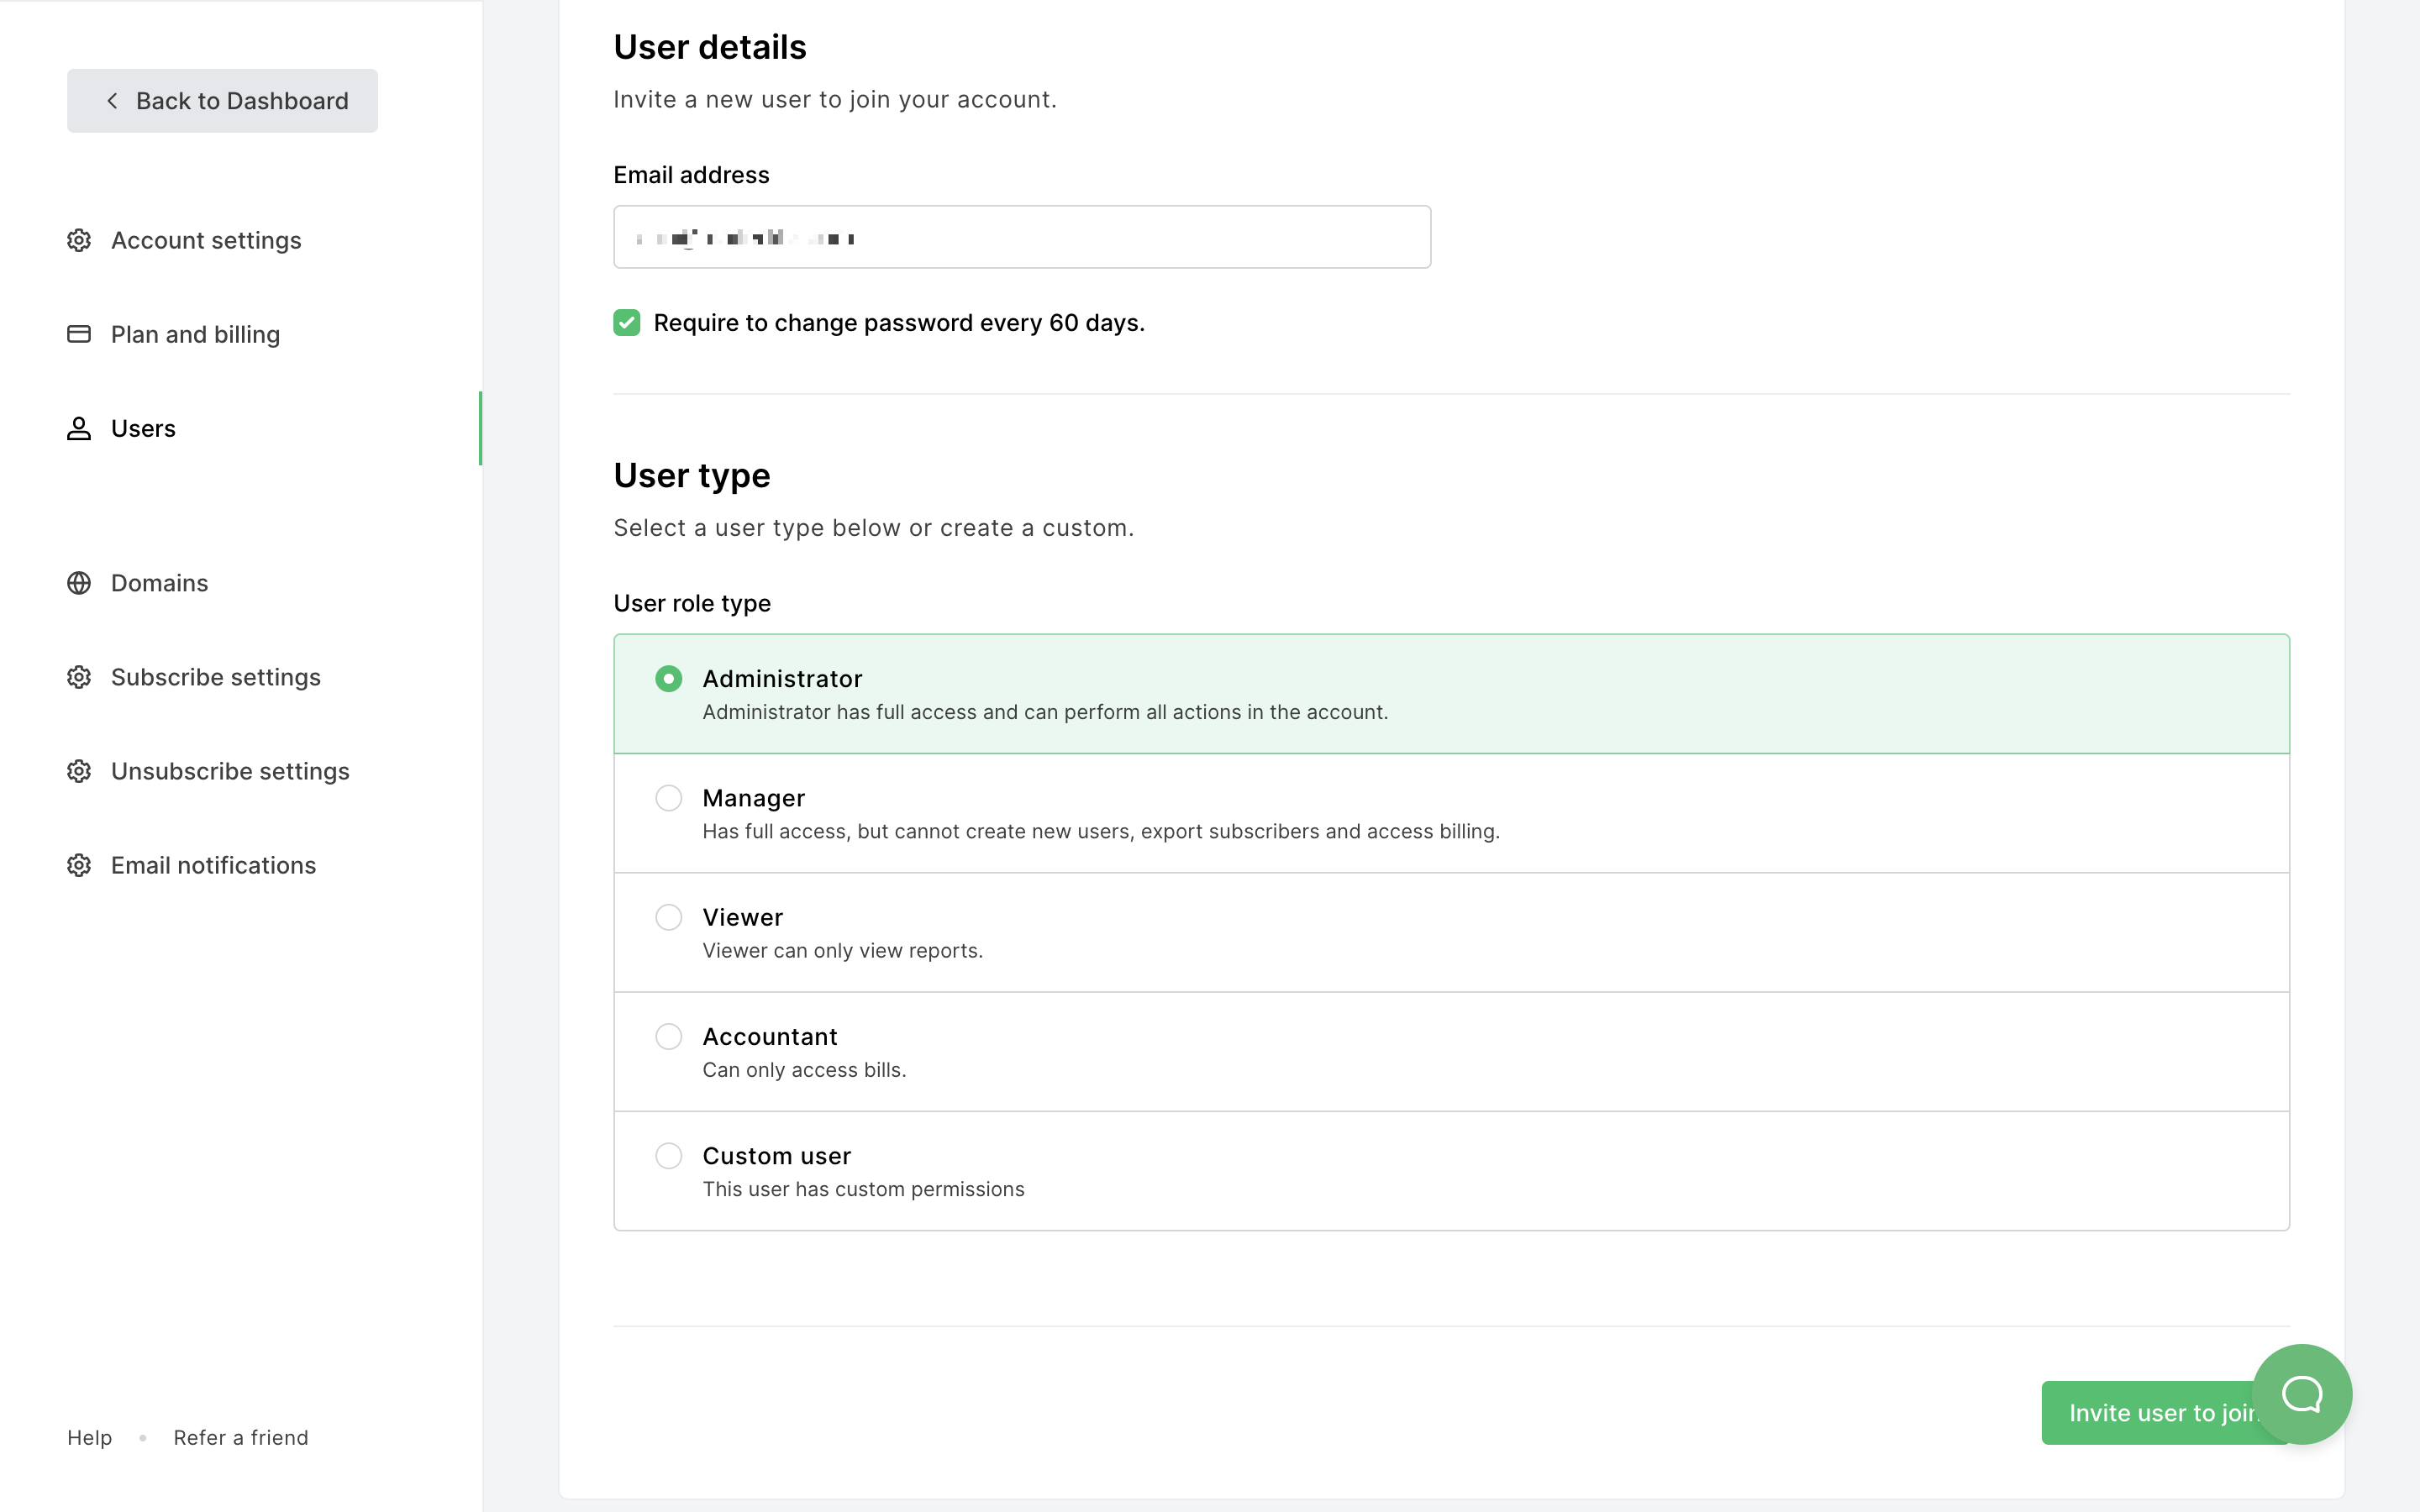
In the Email address field, enter the email address of the user you wish to add to your account.
Select whether or not you'd like to prompt them to change their password every 60 days.
Select the User type.
Click Invite user to join.
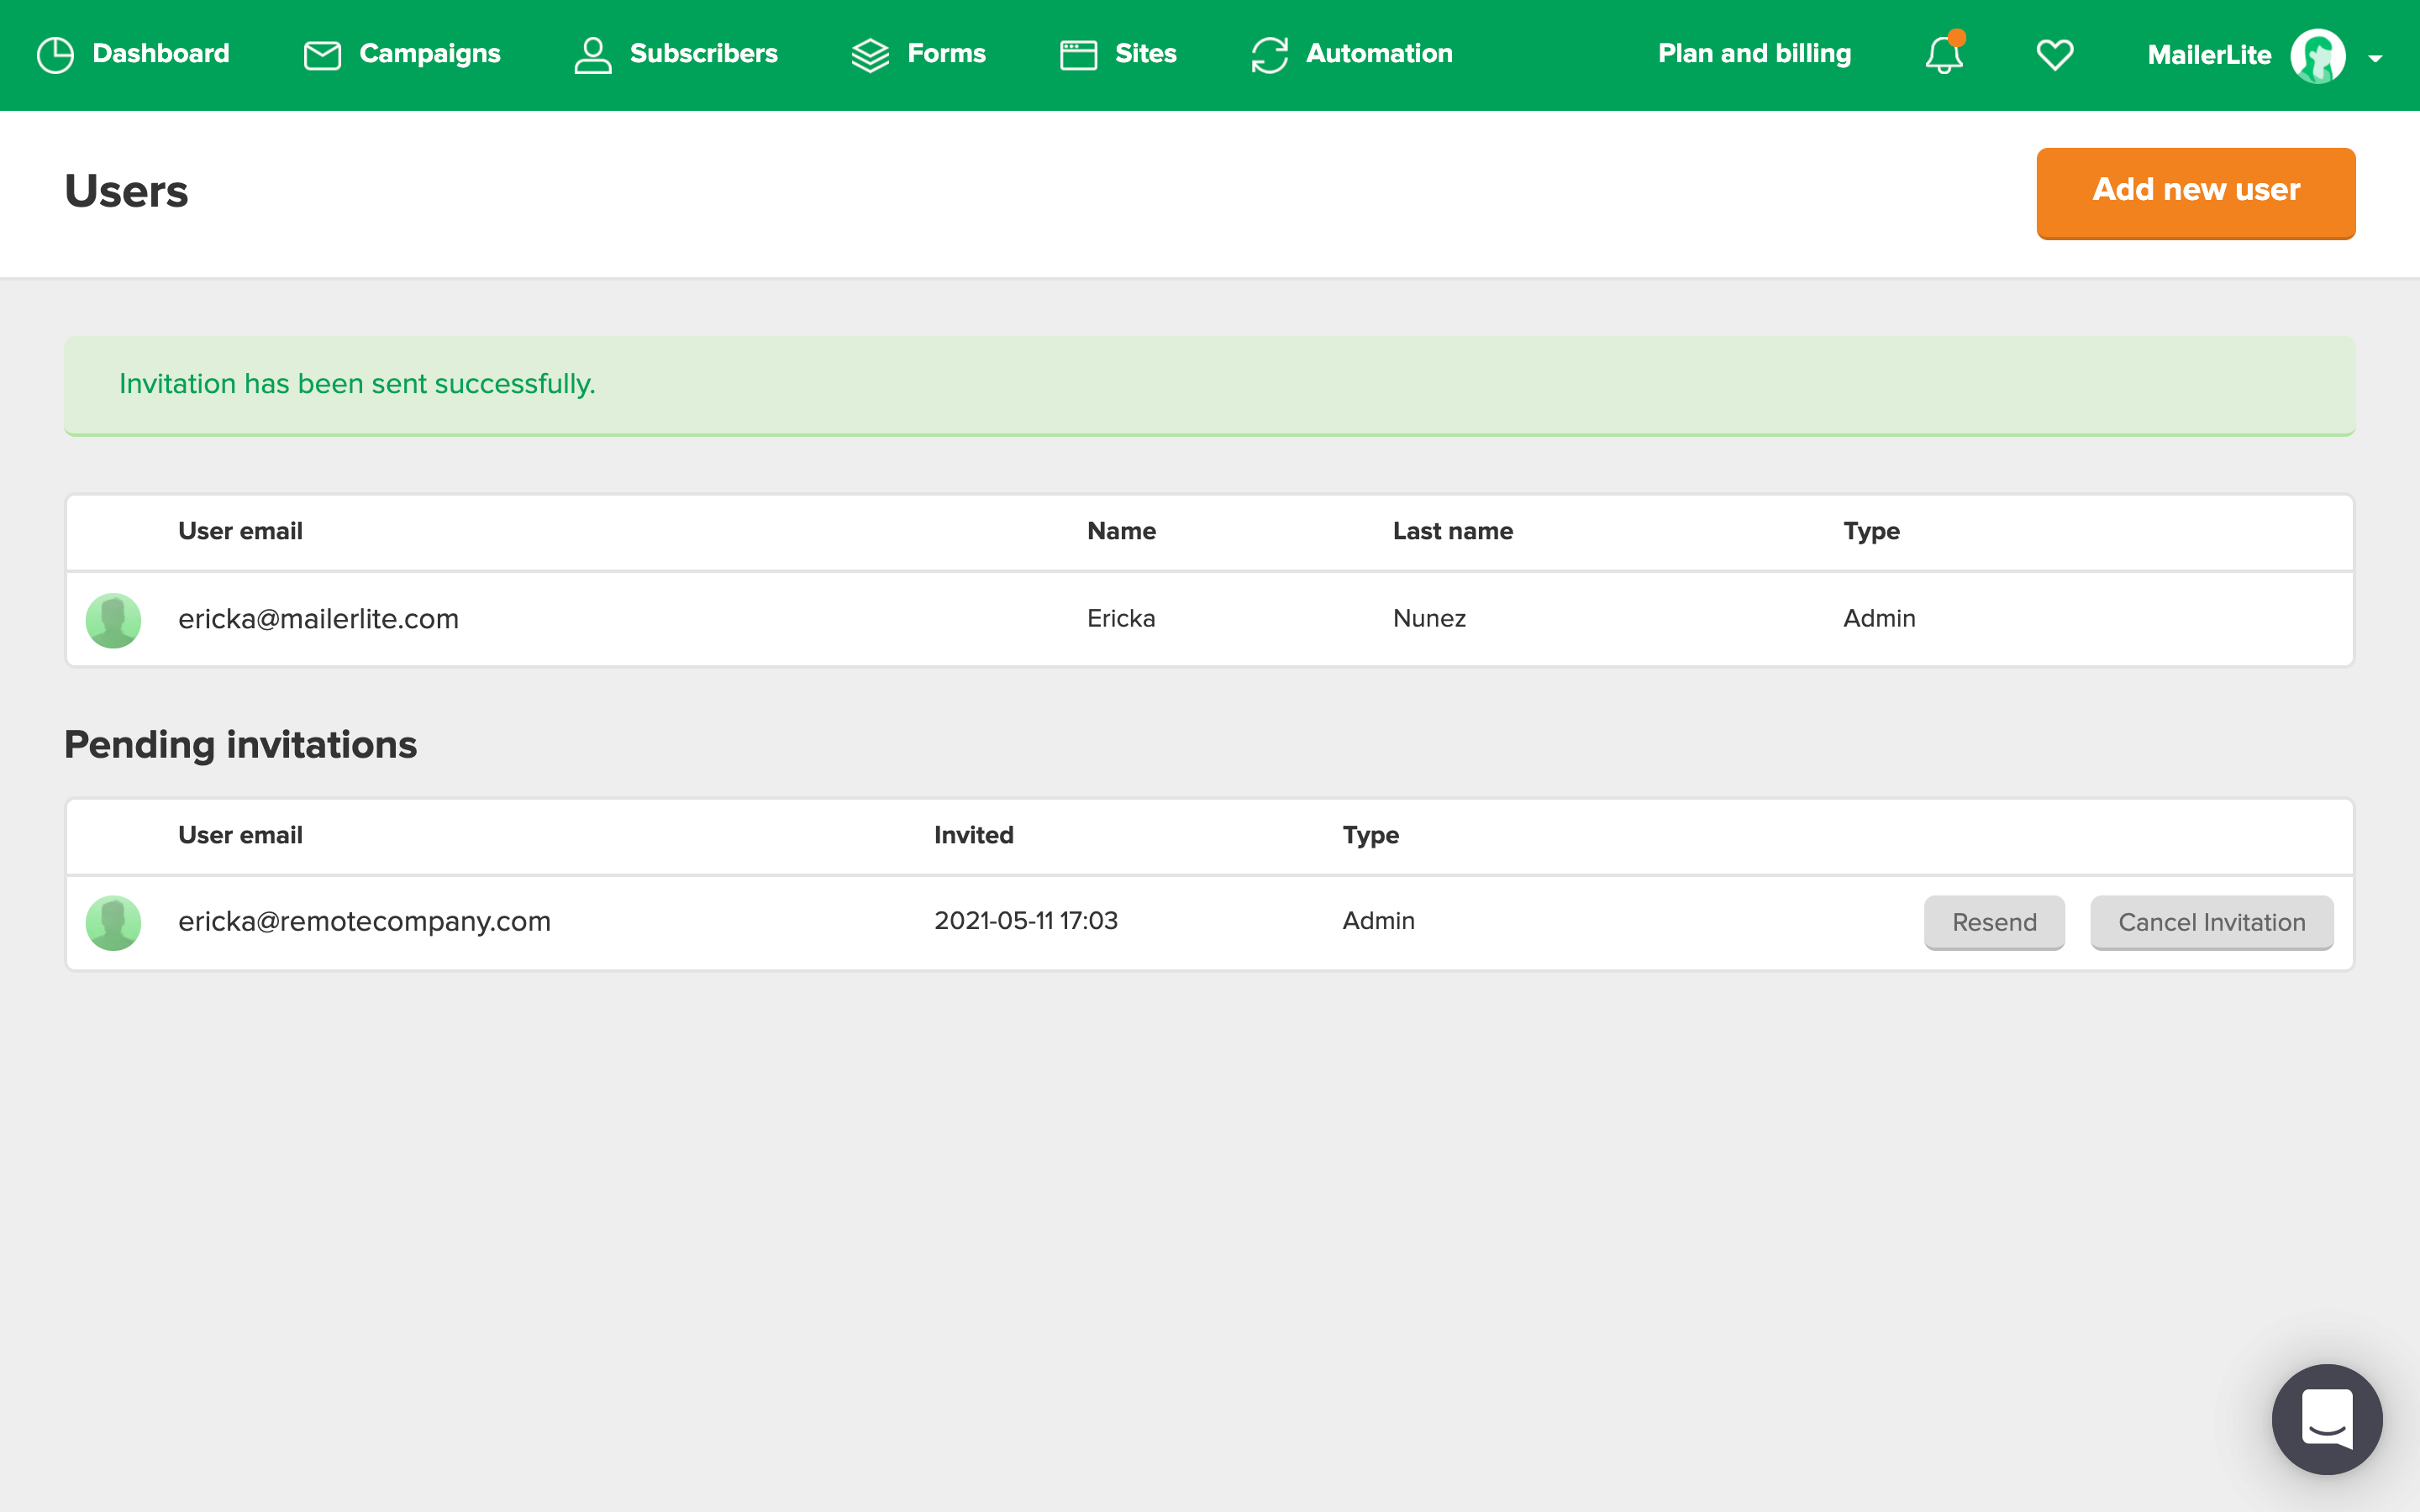
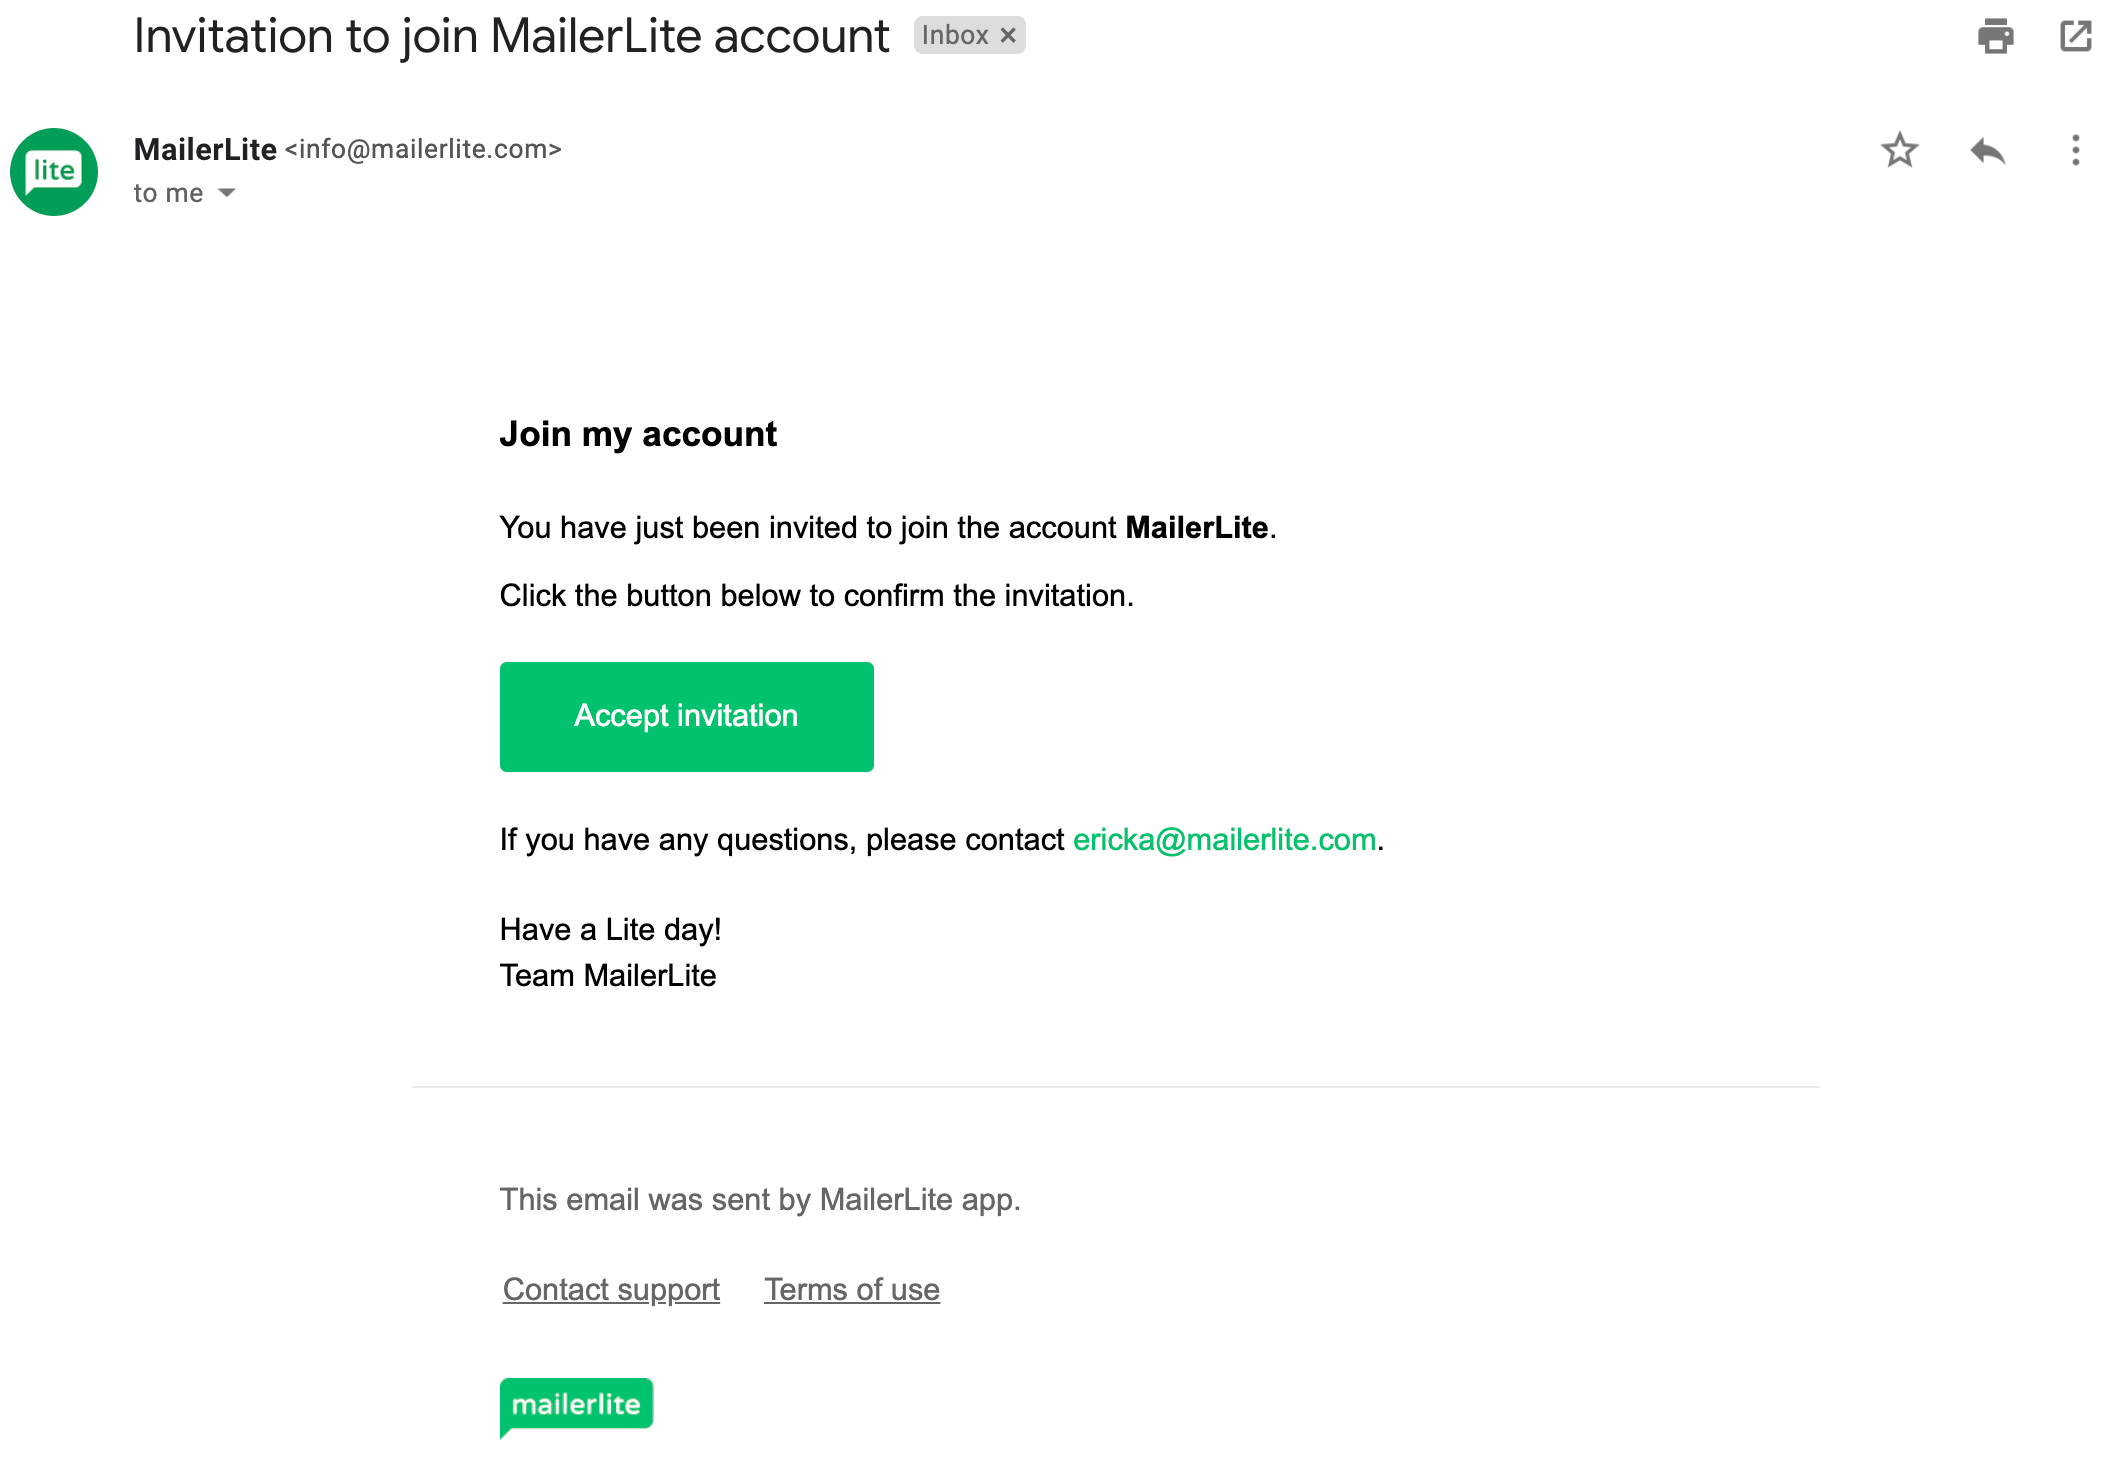
An automatic email will be sent to your user. Their invitation will remain pending until they click Accept invitation.
You can see all pending user invitations on your Users page. You can also use this page to resend or cancel user invitations.
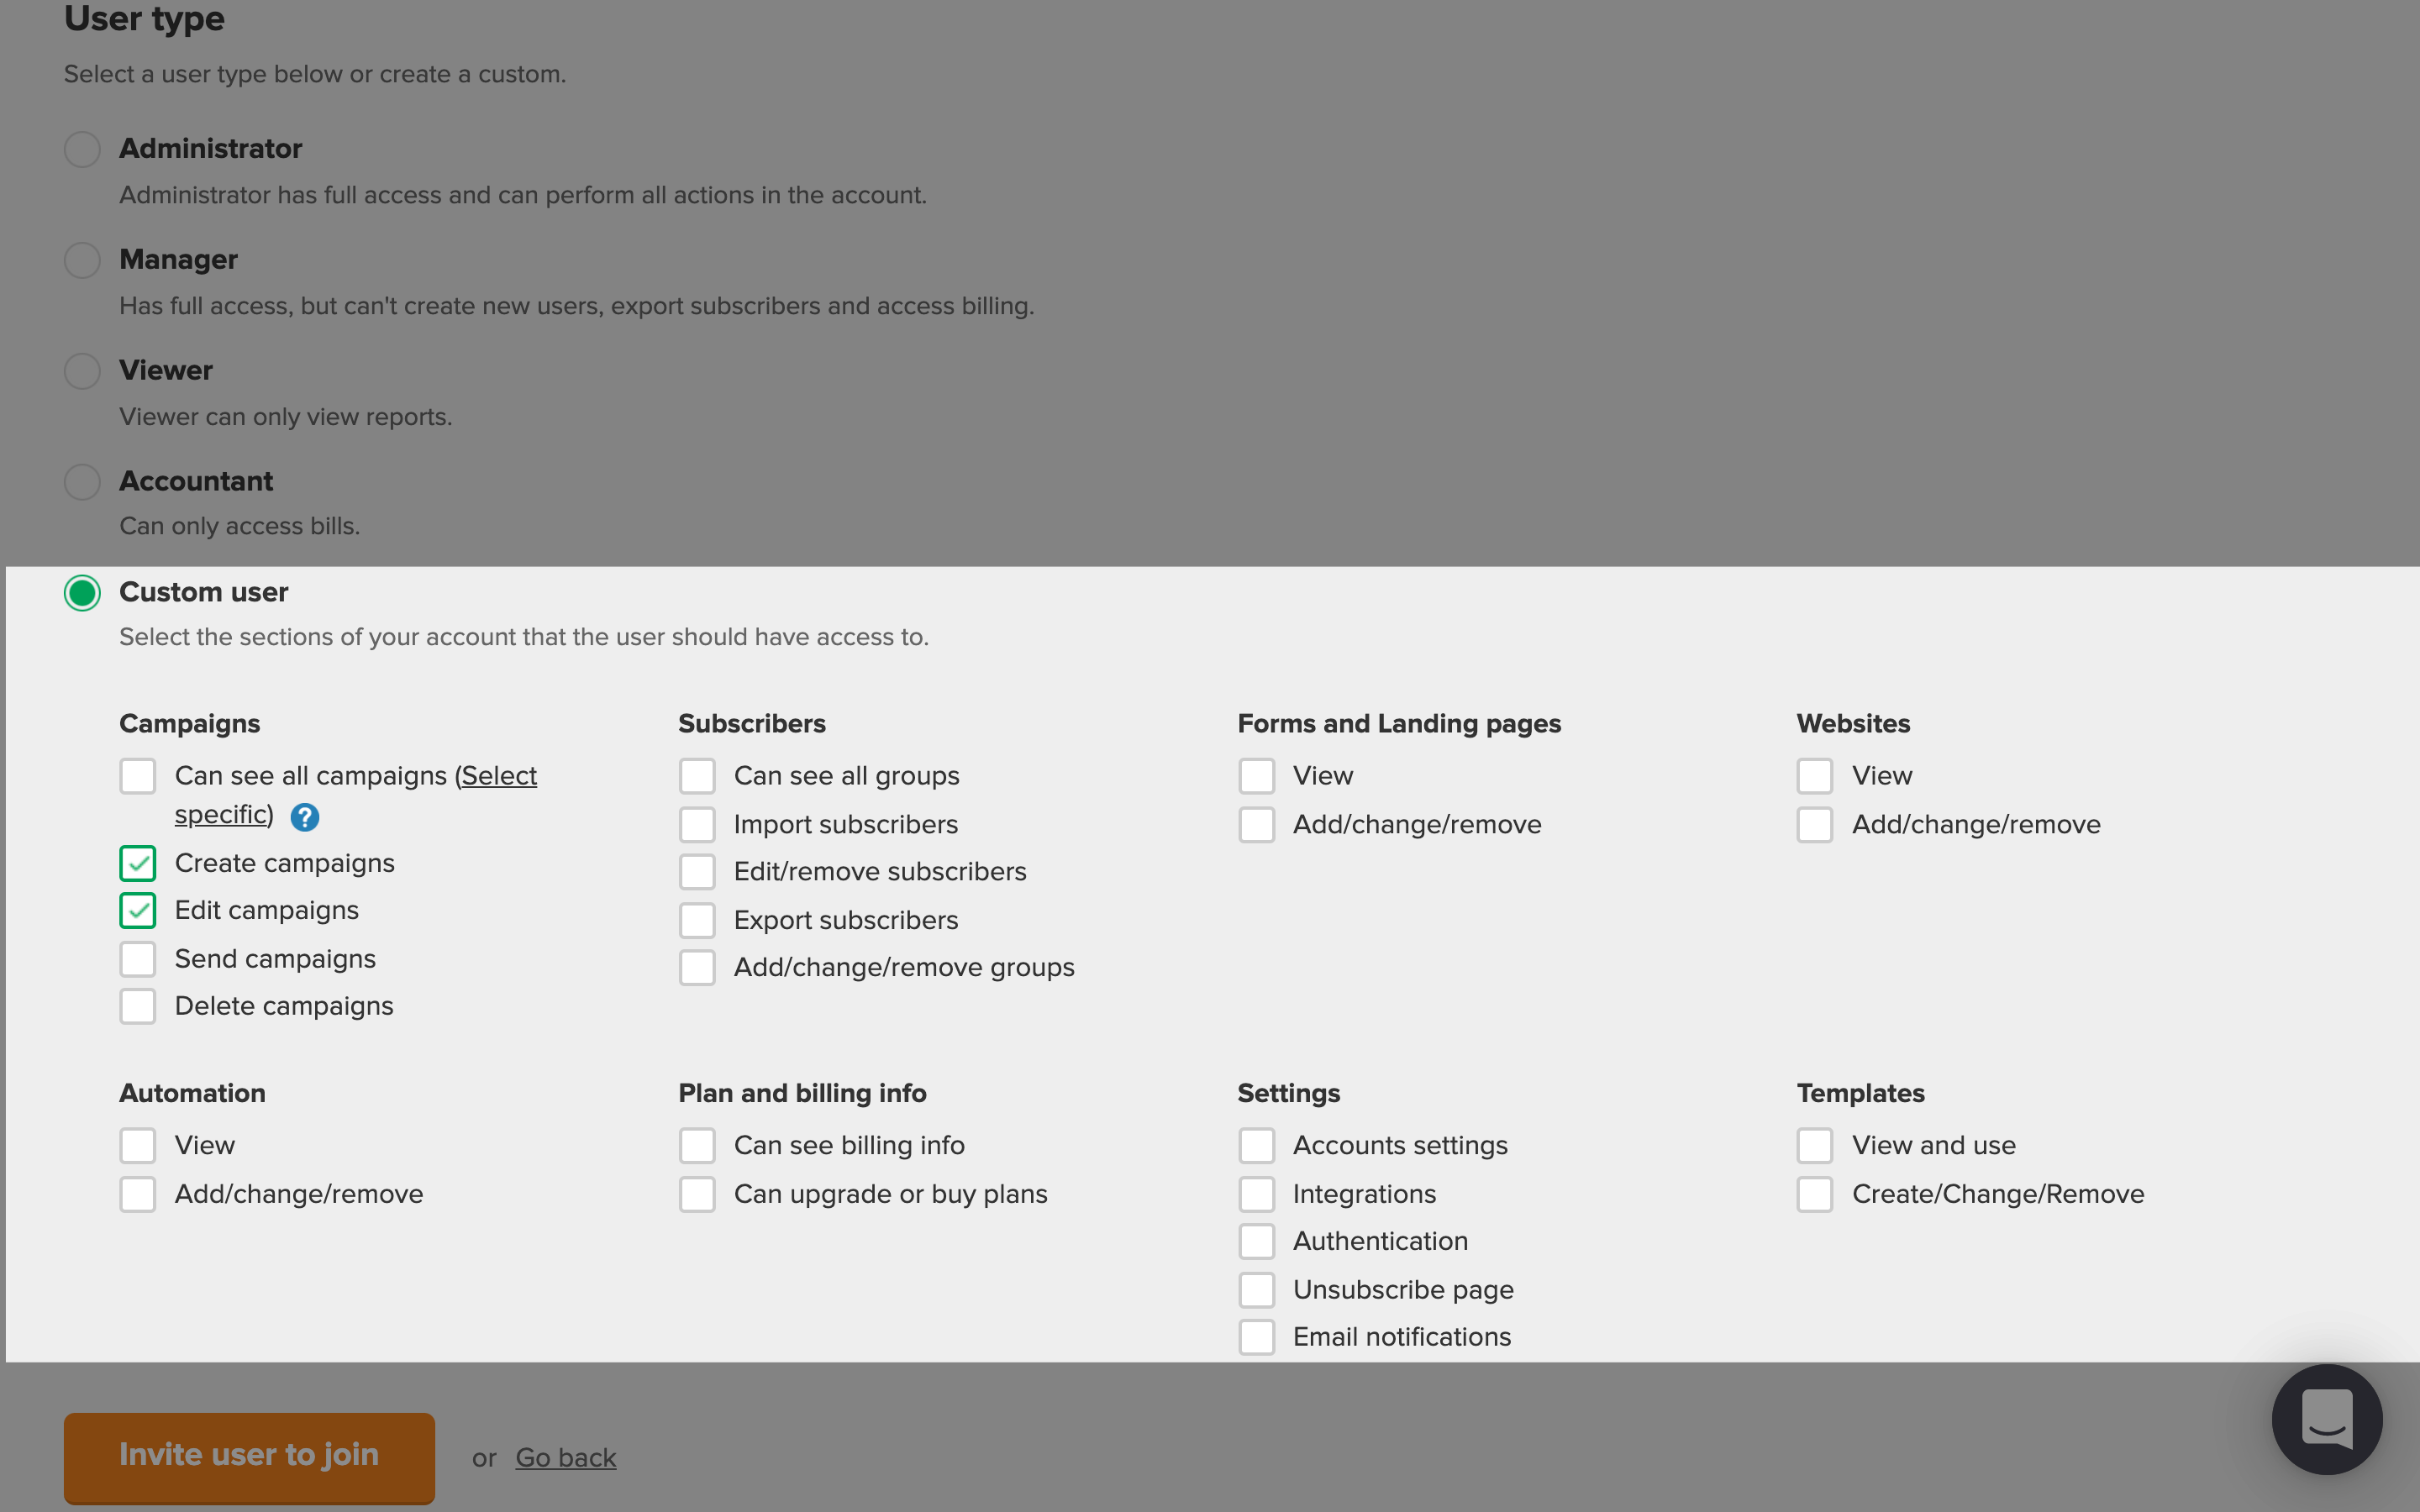
How to create a custom user
A custom user can have custom access to specific features that you select.
You can customize their access to Campaigns, Subscribers, Forms and Landing pages, Websites, Automation, Plan and billing info, Settings, and Templates.
Check the boxes to grant the user access to a specific feature. If you don’t want this particular user to have access to something, leave the associated box unchecked.
For example: If you want a user to be able to create and edit campaigns, but you don’t want them to send any campaigns or have access to campaigns that they haven’t created, then you would apply the following settings:
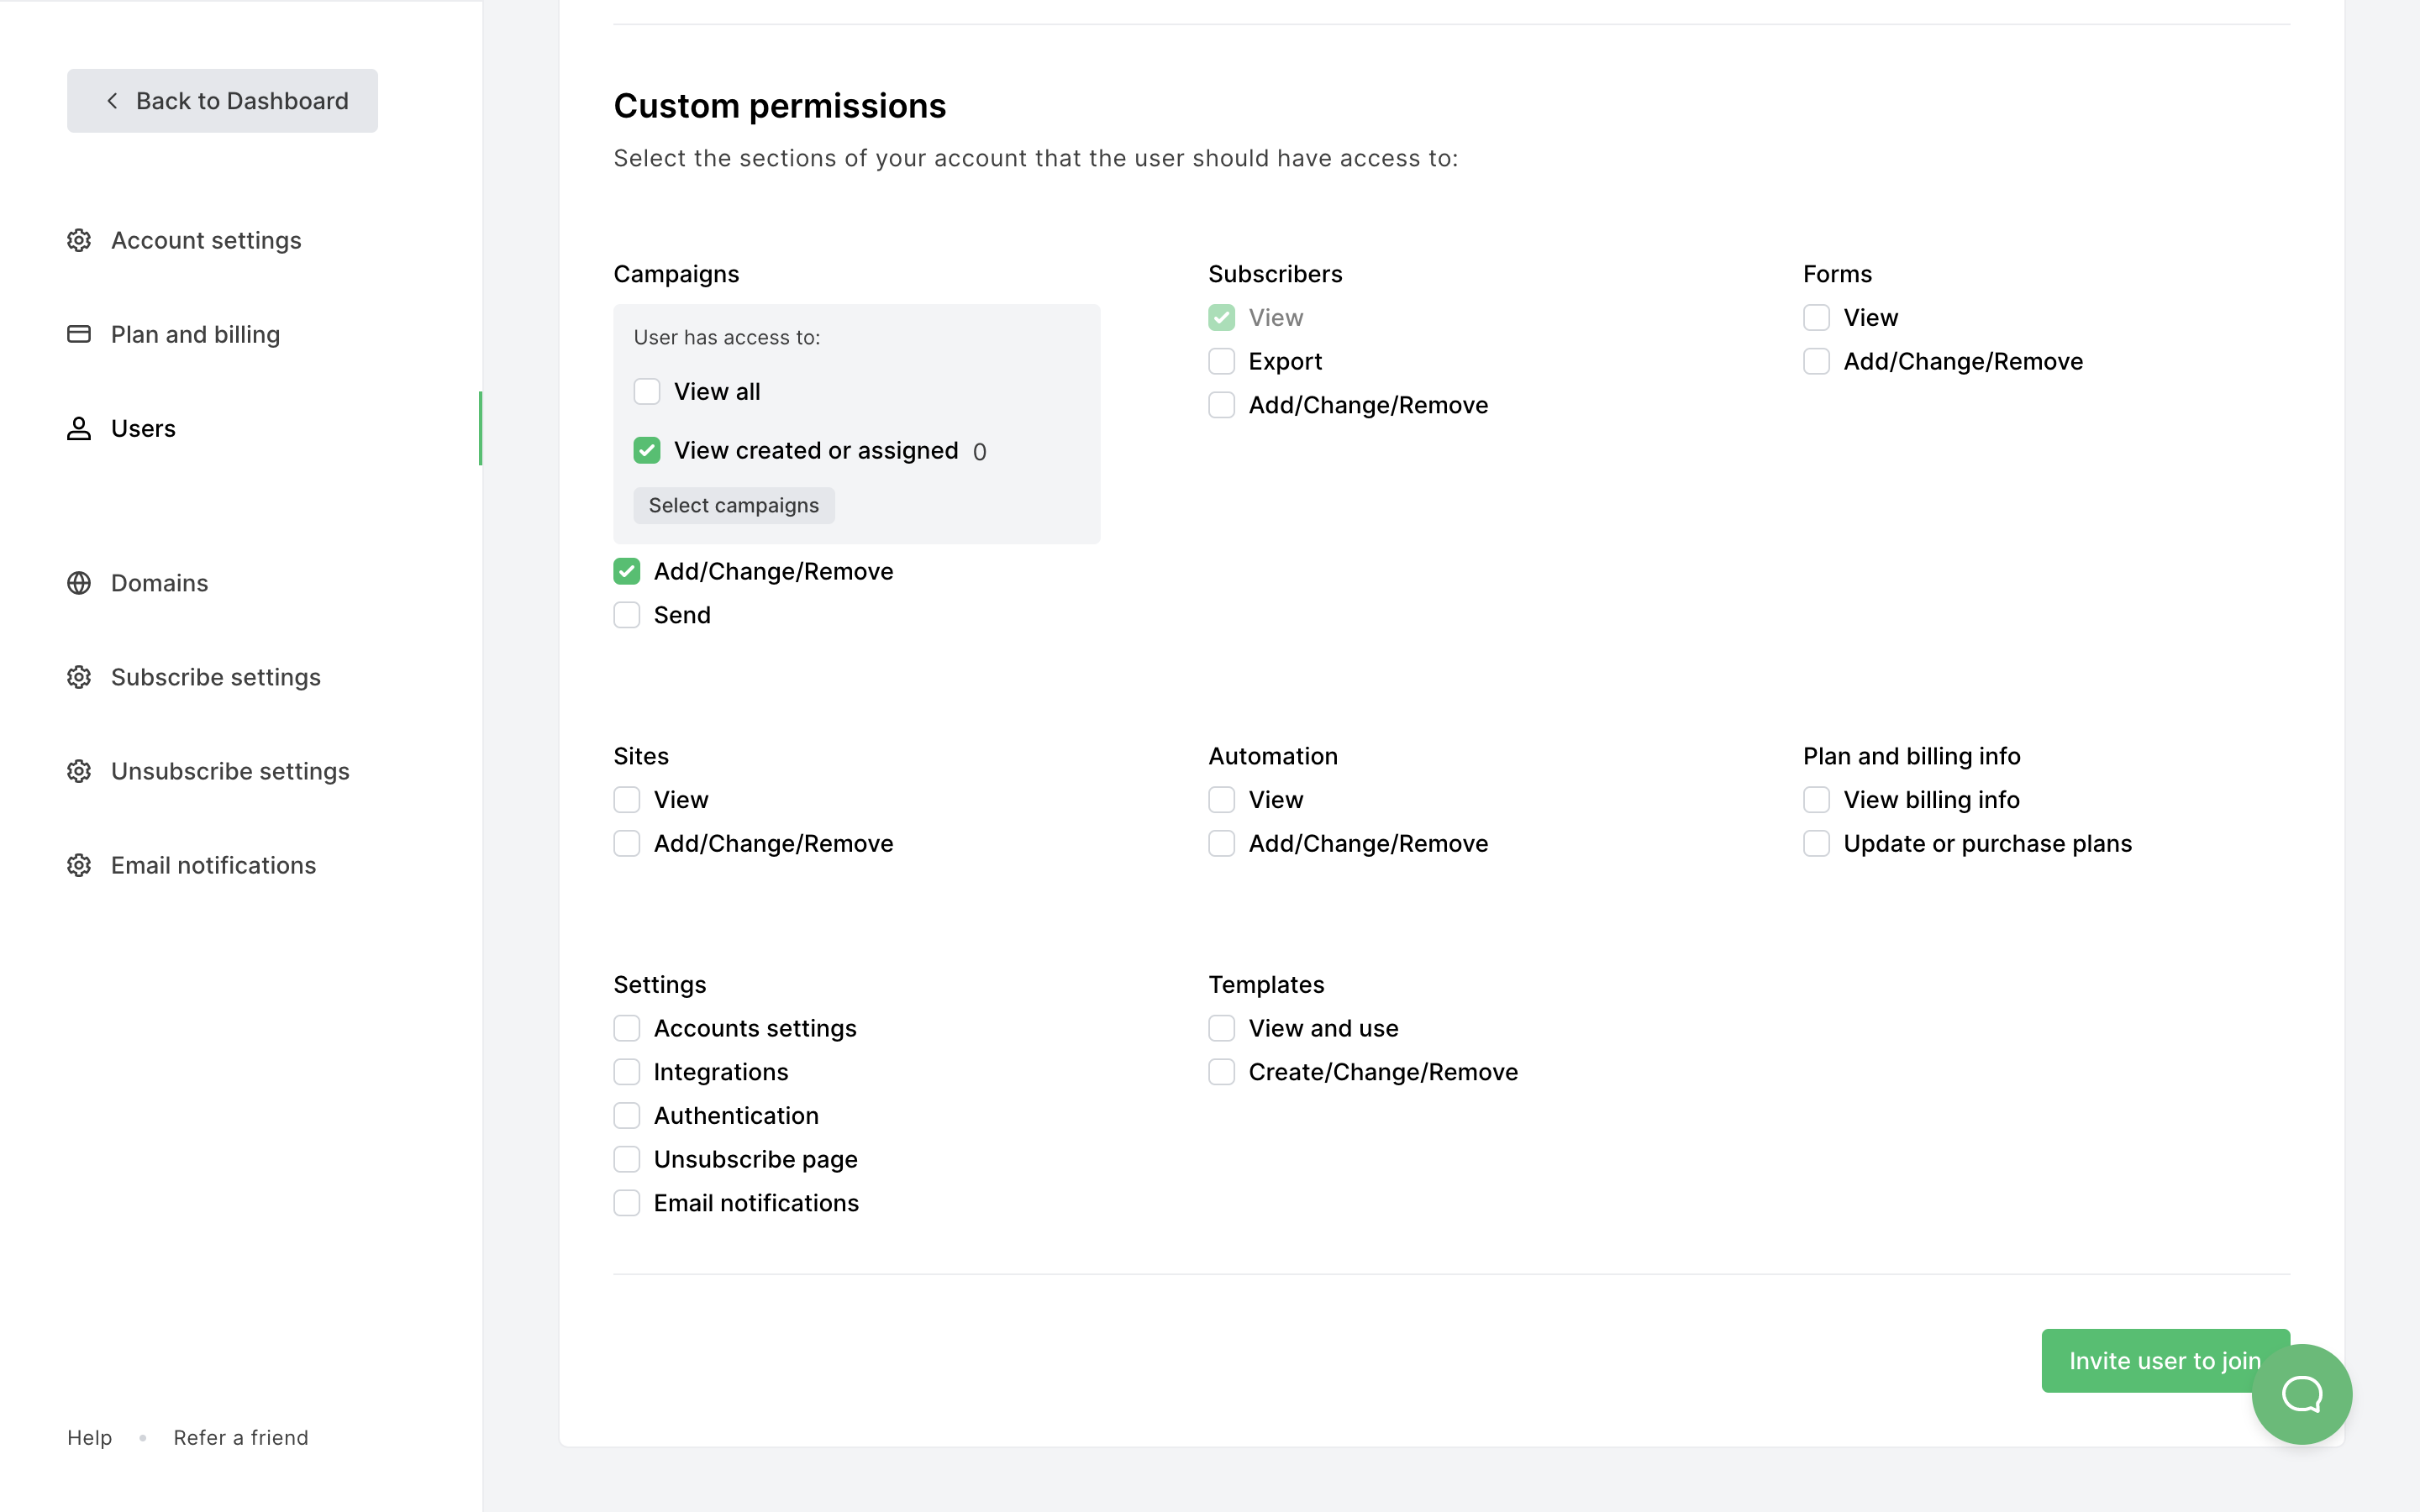
With View created or assigned and Add/change/remove checked, the user can create and edit campaigns but not send them. Additionally, they can only see the campaigns that they themselves have created because we have left View all unchecked.
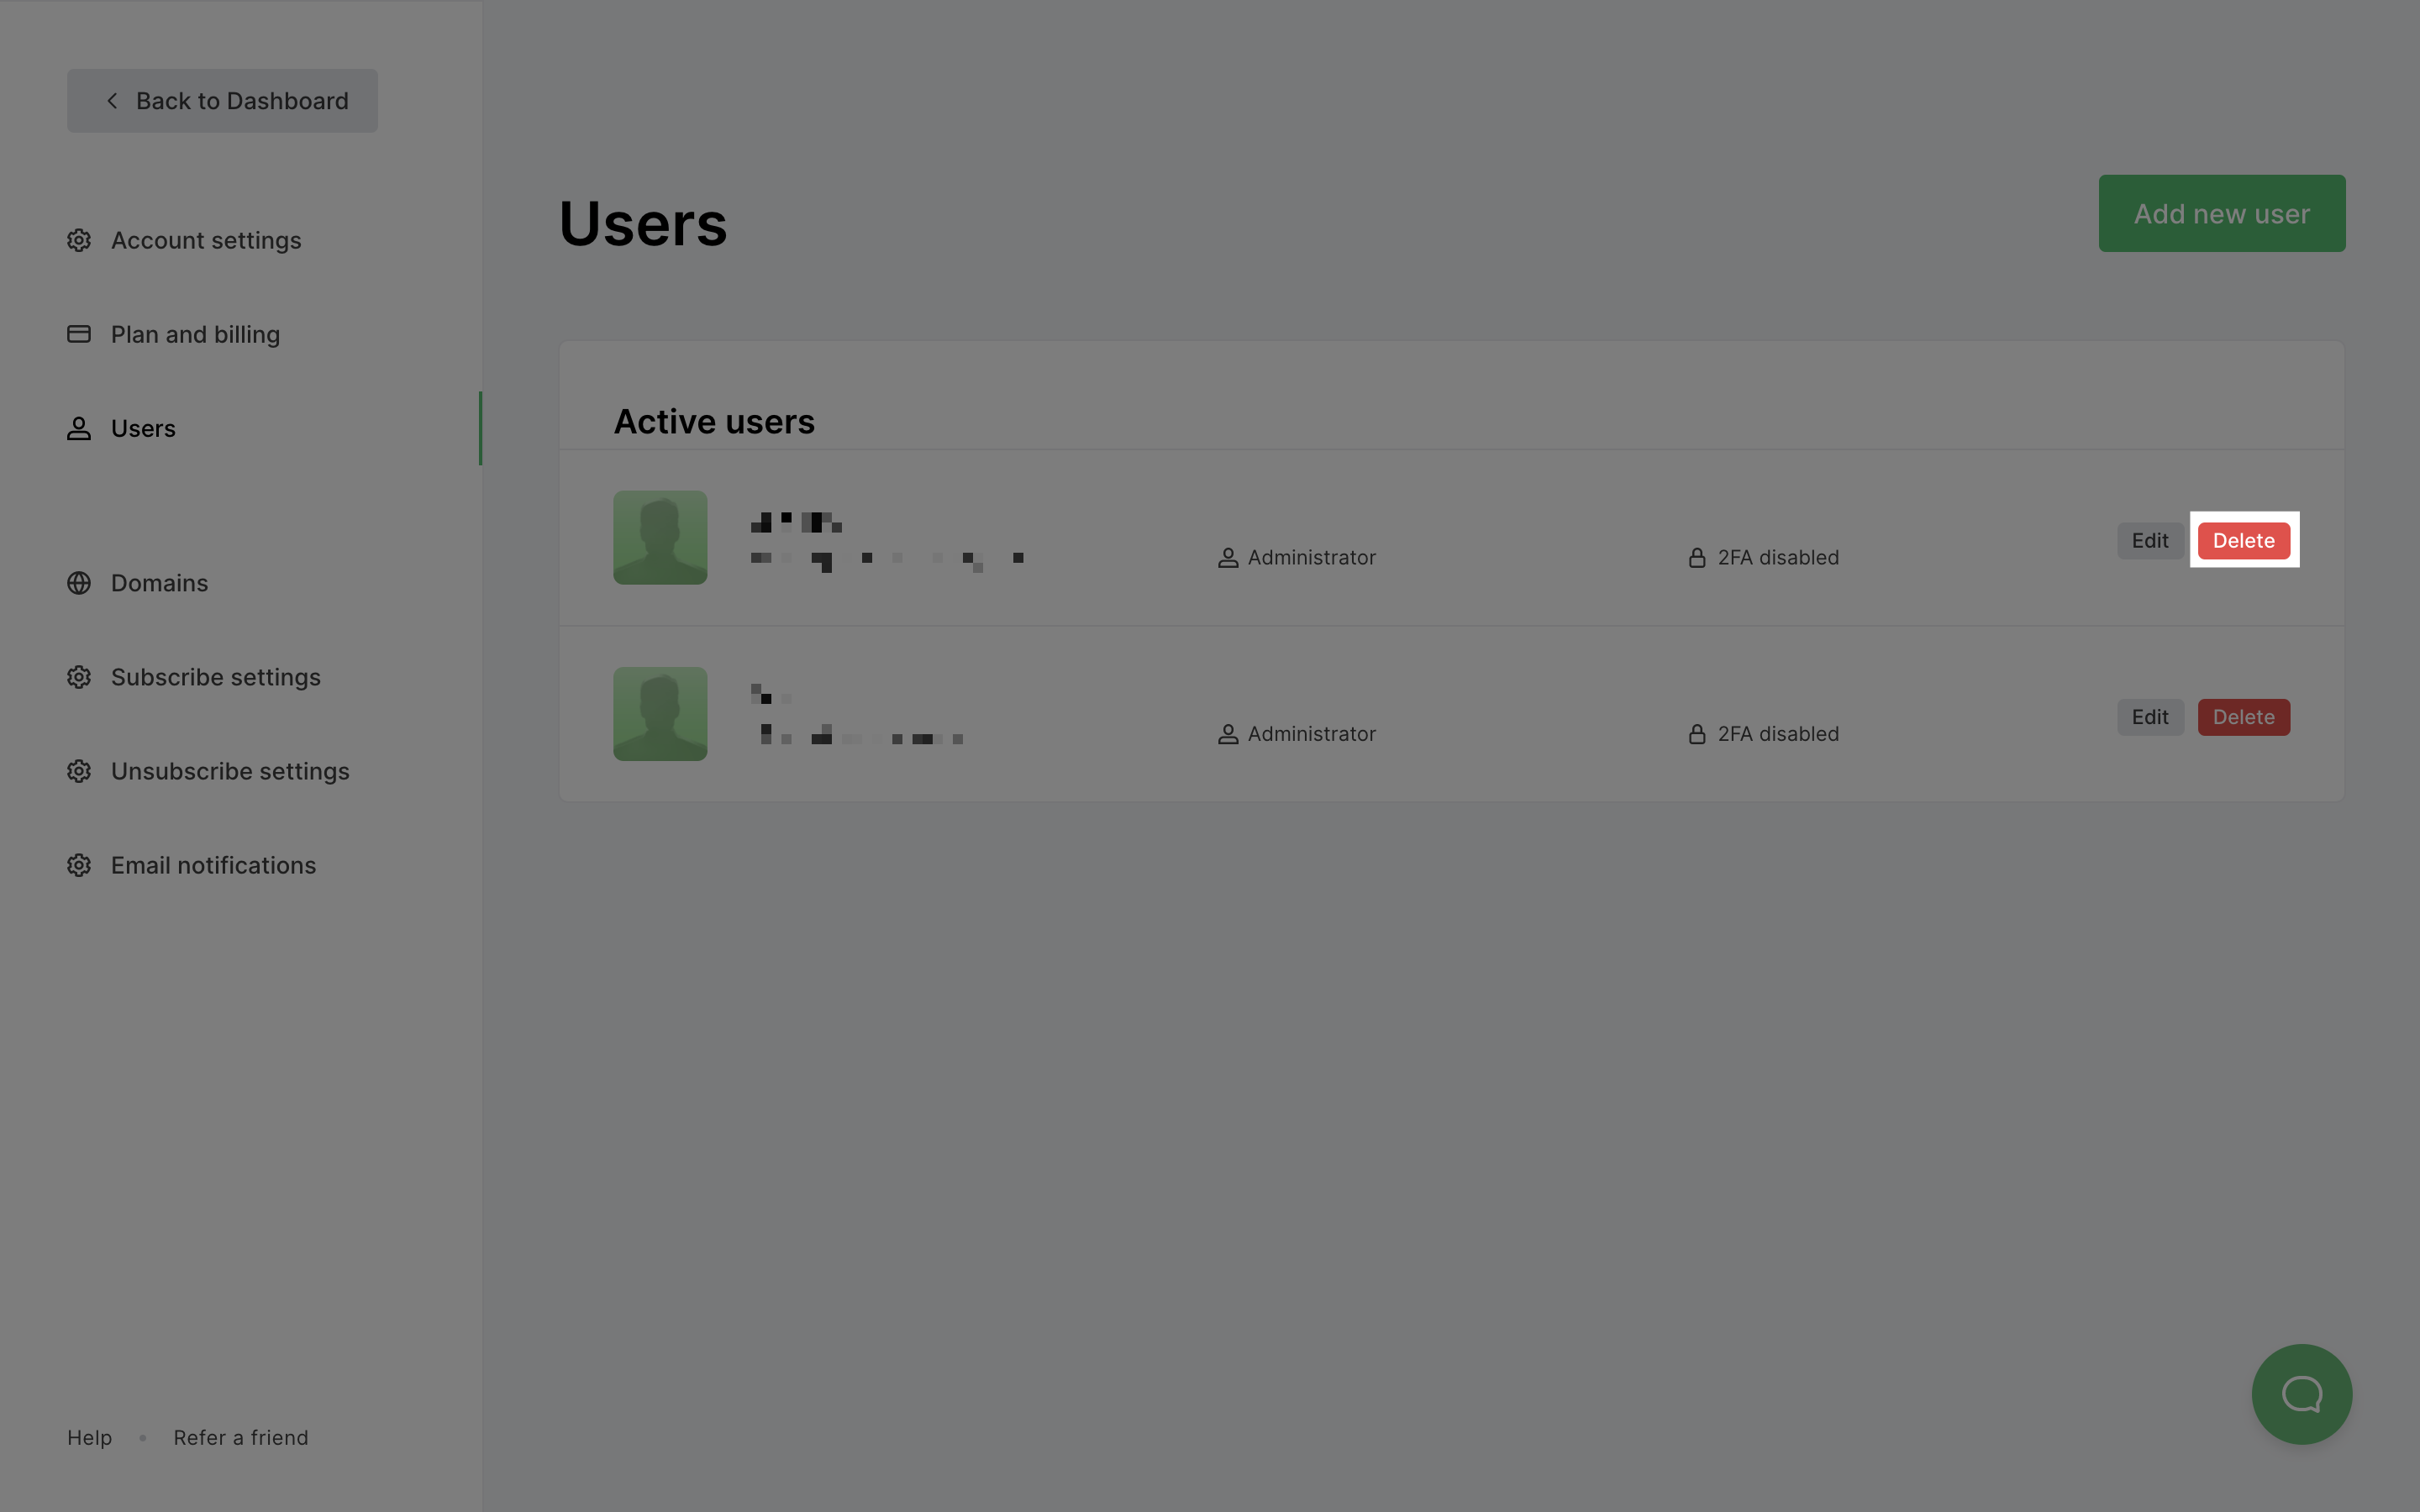
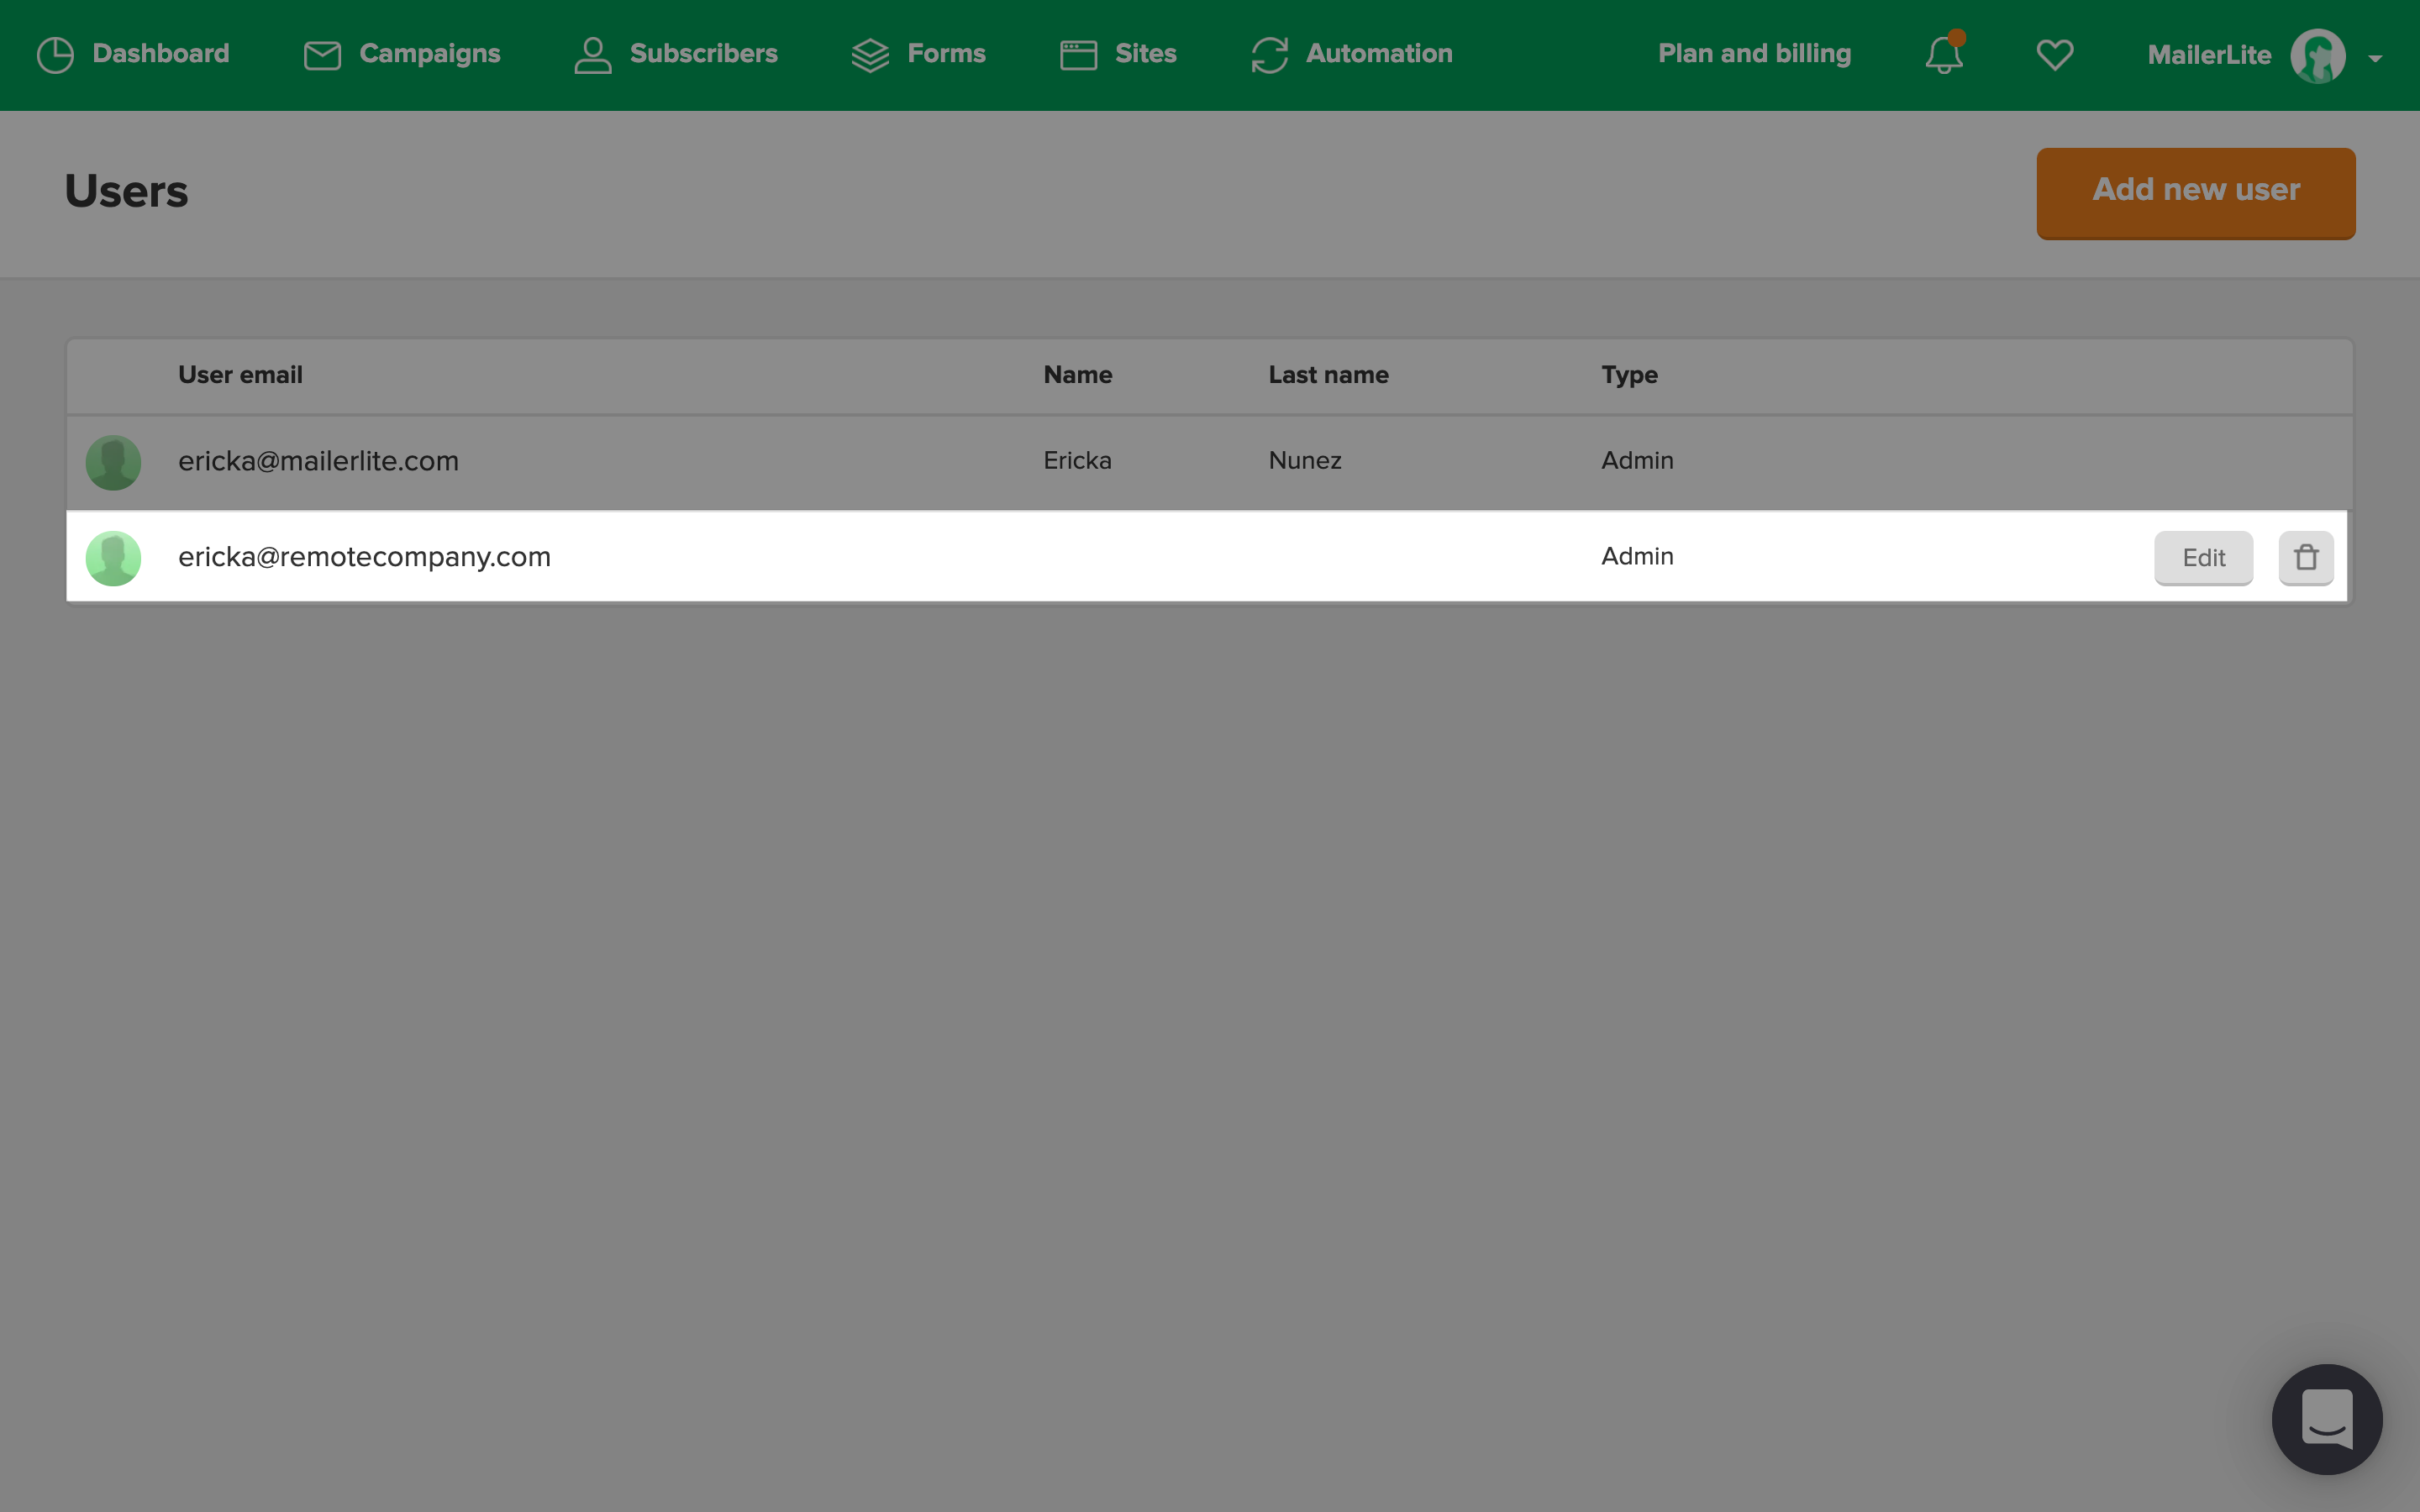
How to delete a user
To delete a user from your account:
Navigate to Settings followed by Users.
Find the user you want to delete and click the Delete button next to their email address.